Projects
TASK
Integrate 3D printing, Laser cut and Electrical components to created a product for usage or to display
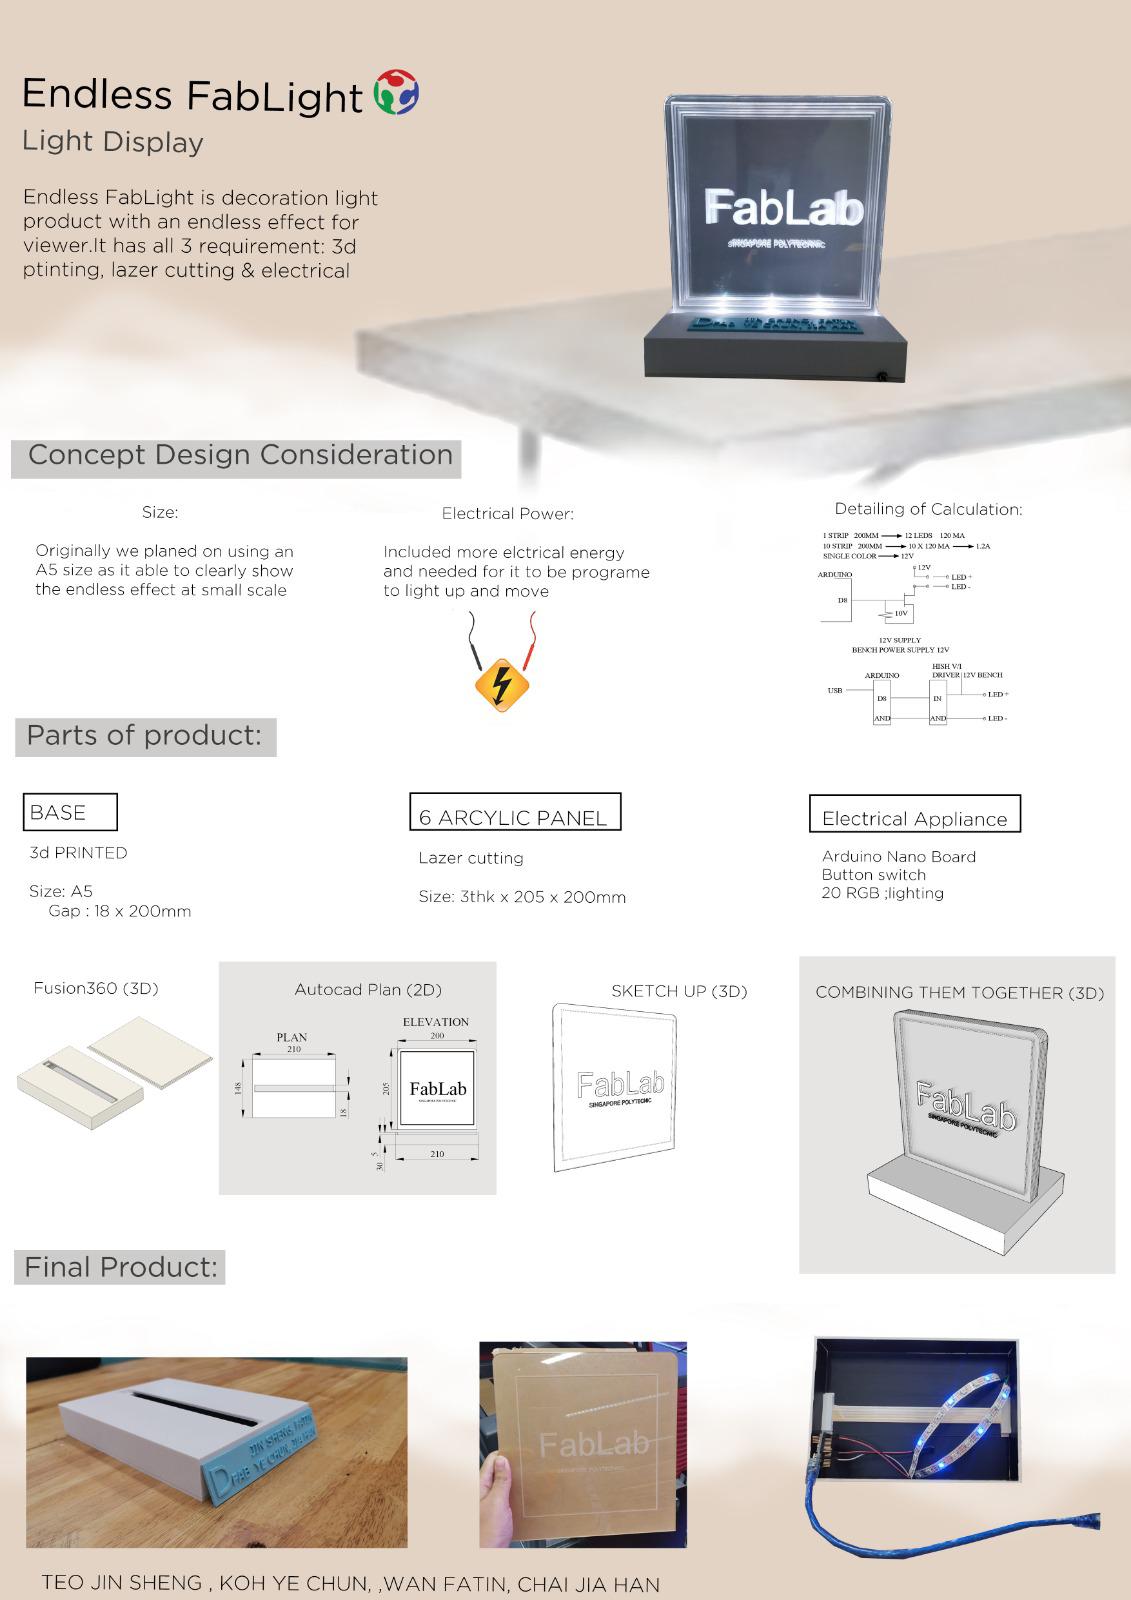
Our group have decided to do like a endless infinity lighting display which potrays FabLab and singapore poly

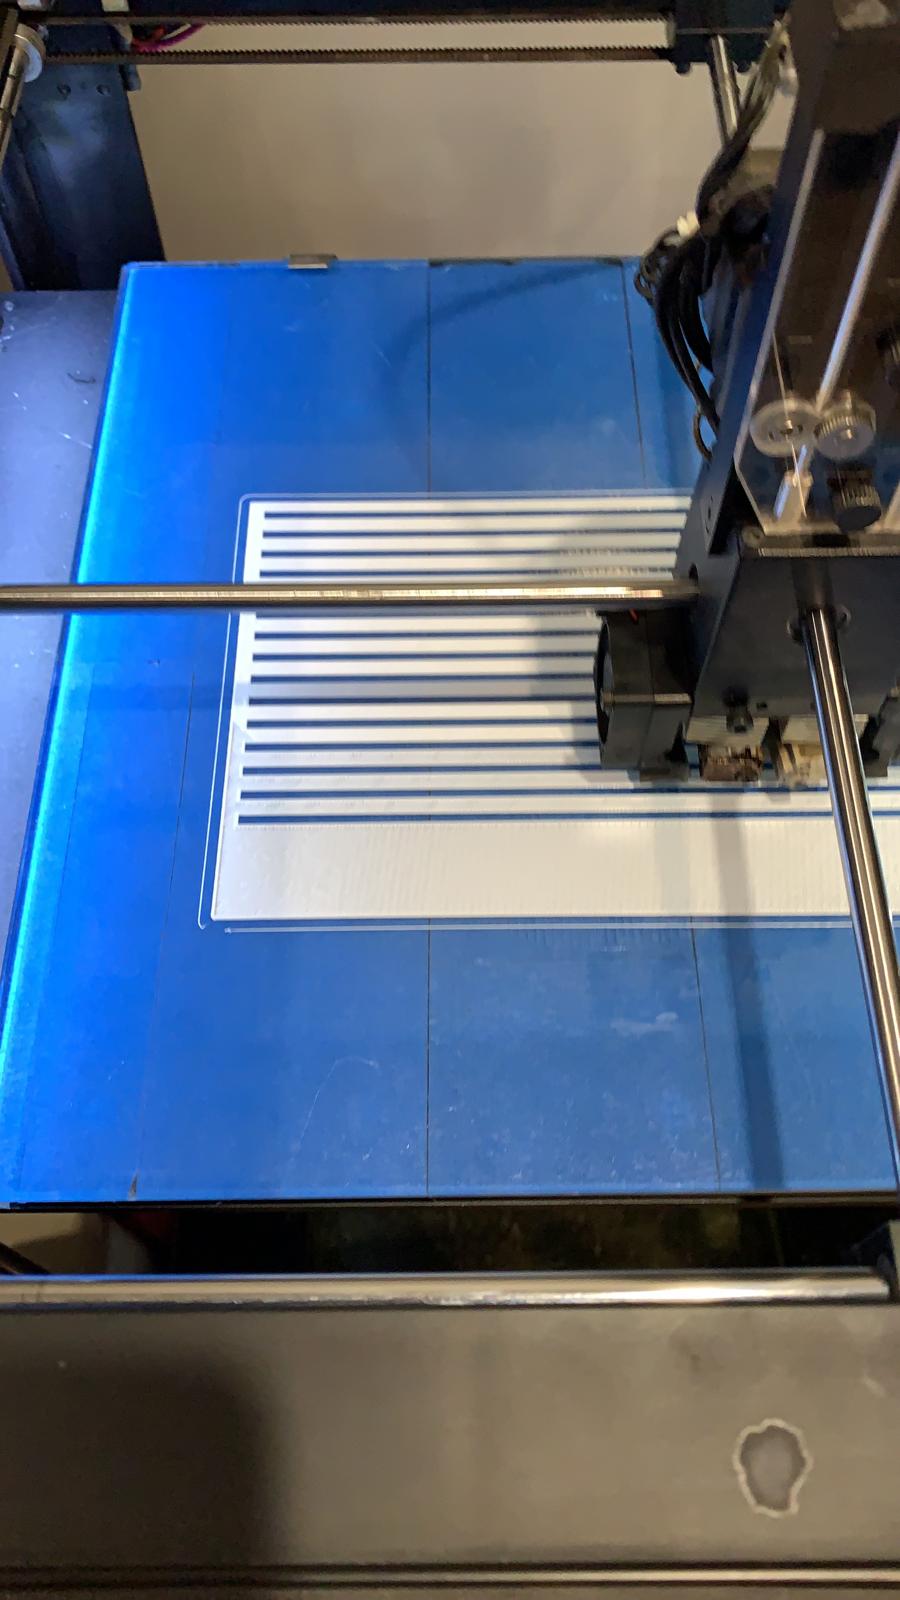
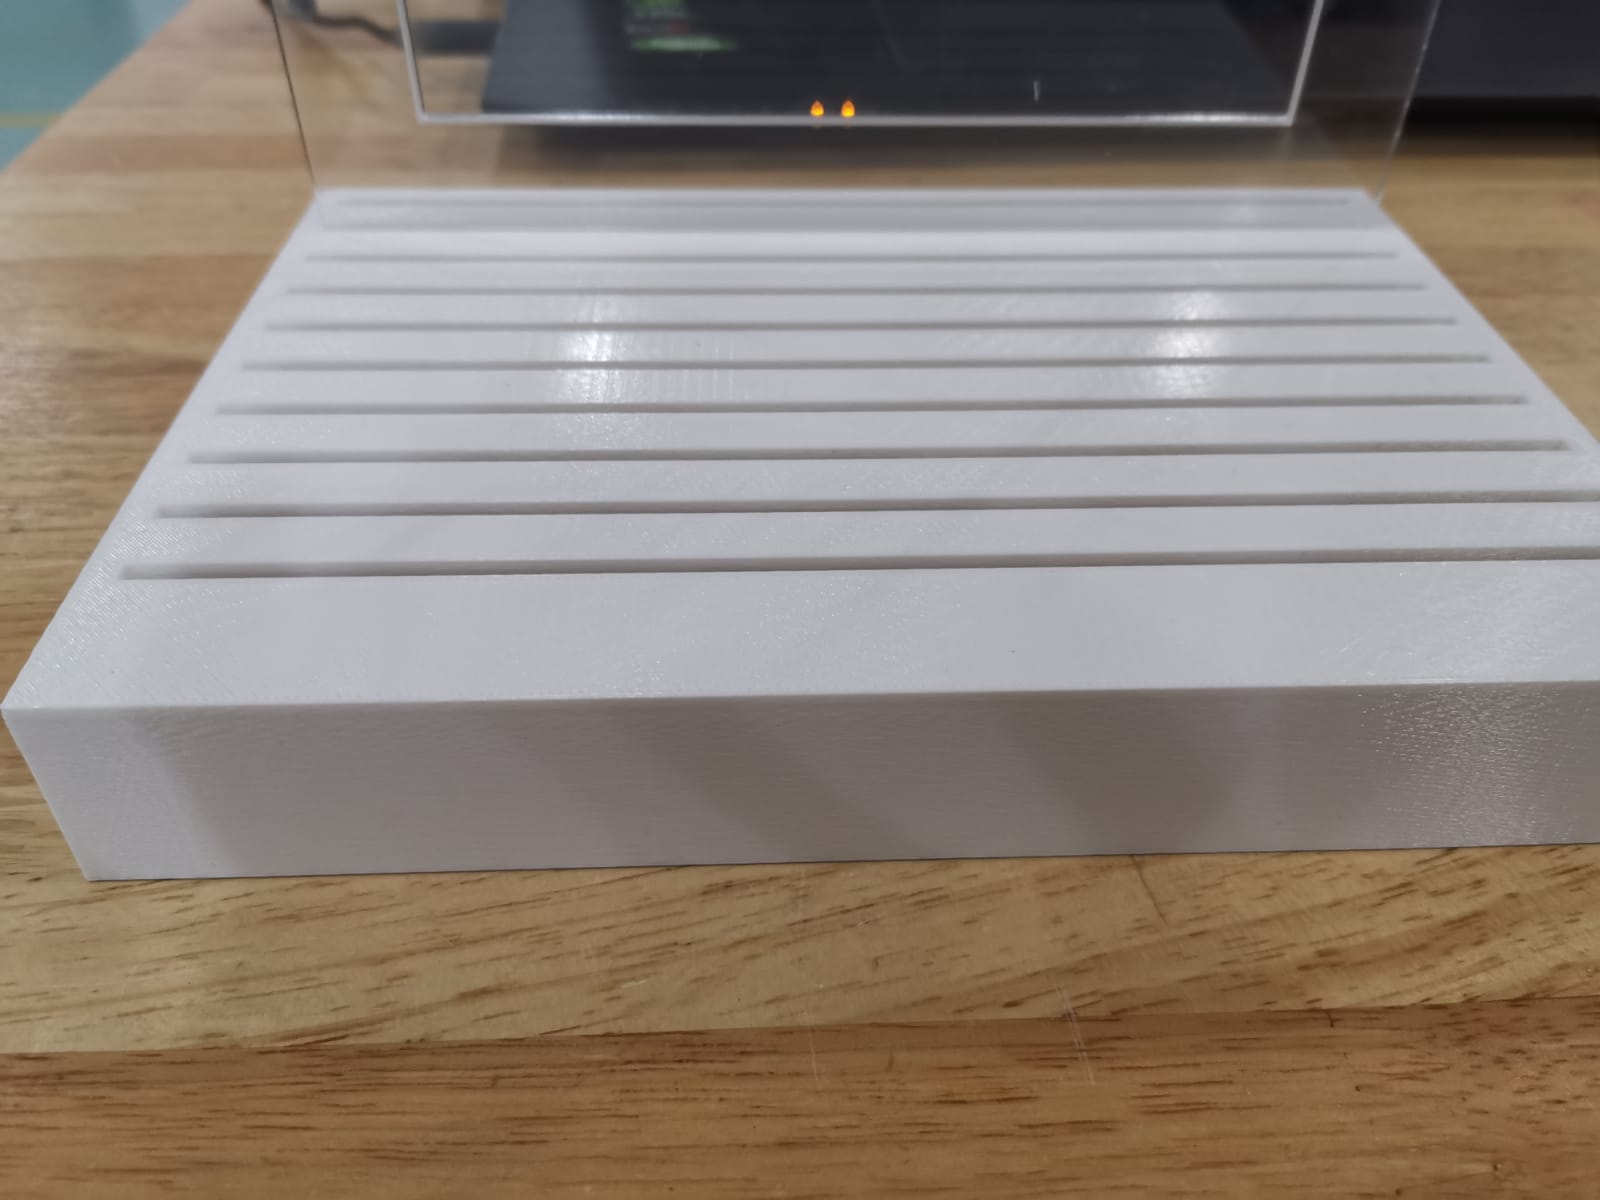
Starting with design consideration, a A5 size 3D printed base where all the electircal parts and systems will be in it
The wordings and acrylic will be cut and engraved and then slot onto the base
Consideration done is to decide if the size is big enough to achieve the effect of the endless effect and electrical power was also one of the bug factor to the project as the amount of power and current must be enough to power up the LED lights and the calcultion of it to see how much power is needed to the product
choice of materials will be plastic for the 3D printing and 3MM arcylic for the laser cut, 5-10 strips of LED is needed as well as a nano Arduino board, and its supposed to be powered from USB current
Original idea was to have 4 panel of laser cut parts to create like a lixie clock, but due to the time constraint and too much electircal components and programming we cut it down and chnaged it to display set
Problems face for the endless light display is having too much panels, 15 panels it needs to have a very strong current to power the LEDs, and time constraint to laser cut, so instead of 15 panels we cut it down to 10 panels.Even with 10 panels the laser cut machine met some problems and only 6 pieces was managed to be cut out nicely.
So we improvise by having only 6 pieces put together side by side which has the effect of endless too, the sides of the laser cut was rough and not properly cut
Here are the some pictures of our jounrey through this project due to a tight time frame of 1 week for us architecture students which we had our final design review of the year which is very heavy and busy for us to commit to any other modules and I would like to apologies for not doing a very good job for this project and I wish there was more time given to the arcchitecture students
Test for laser cut
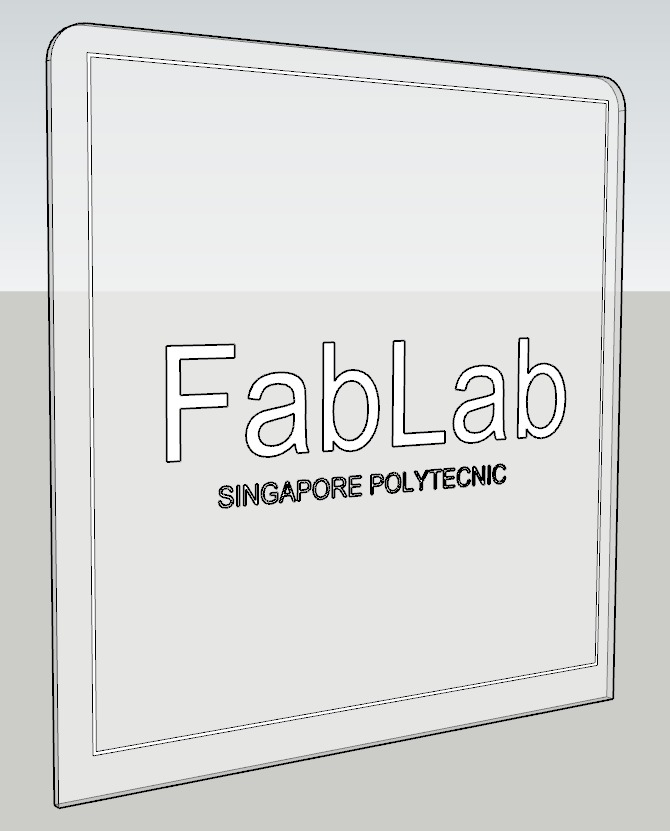
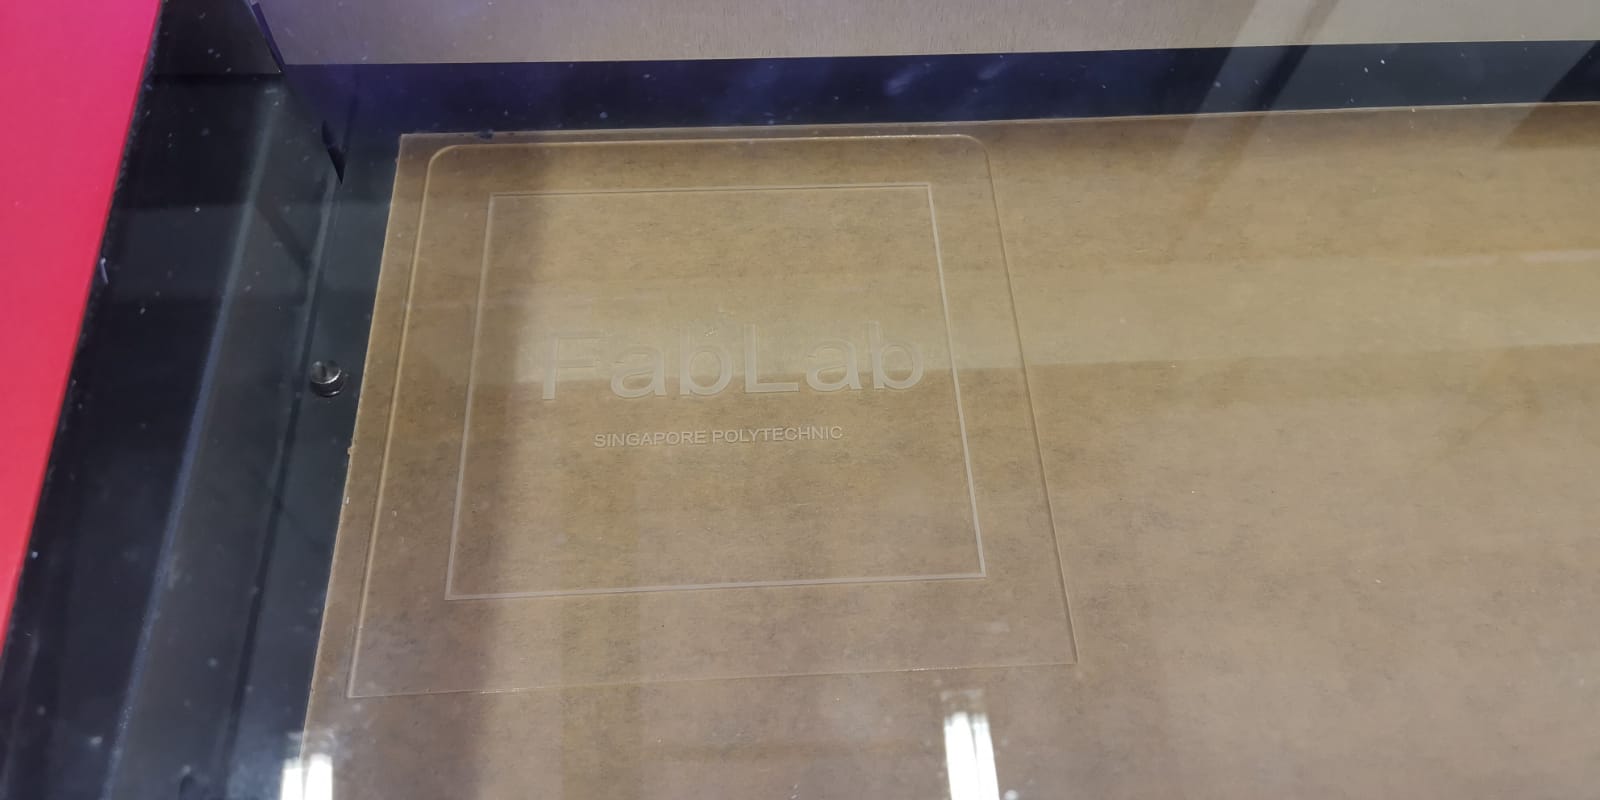
First print of the base
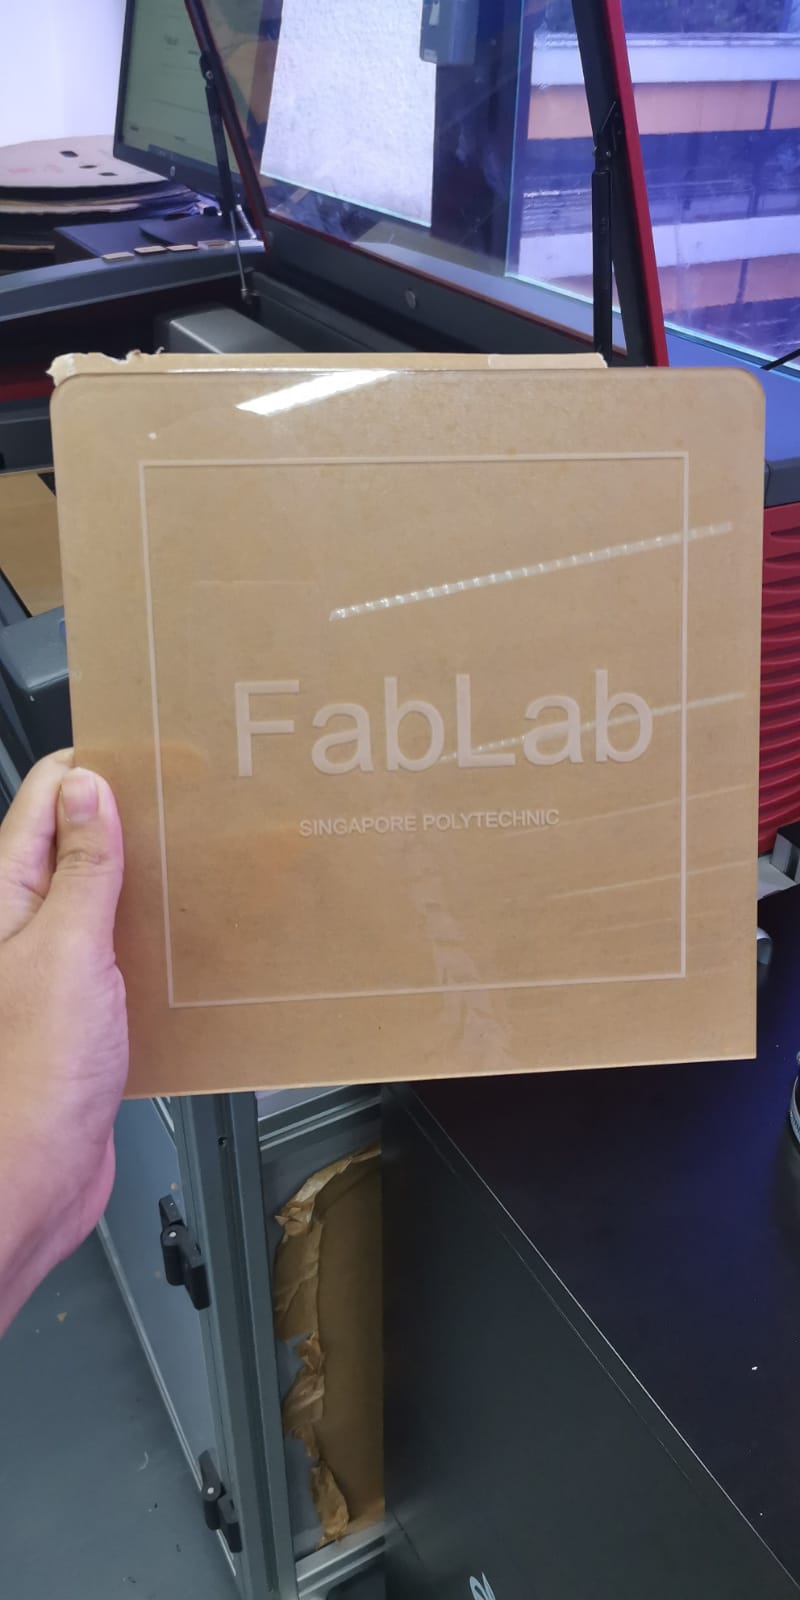
Actual laser cut
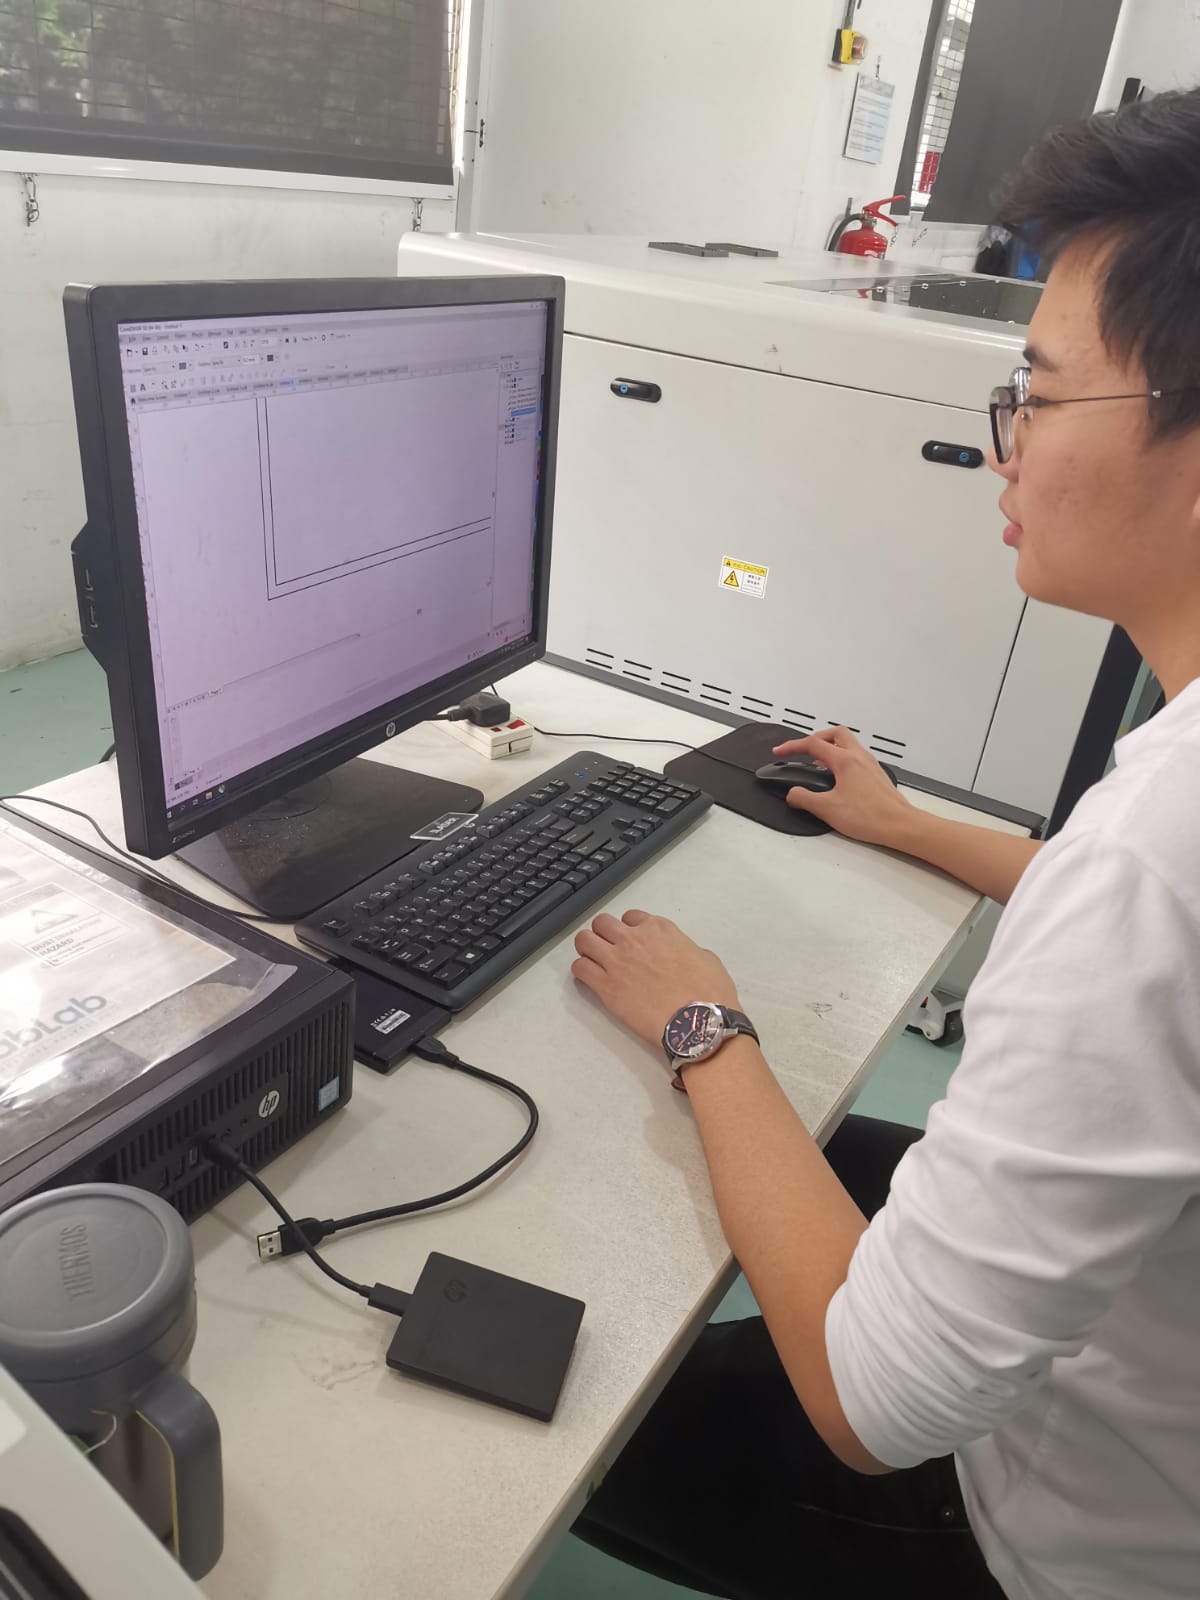
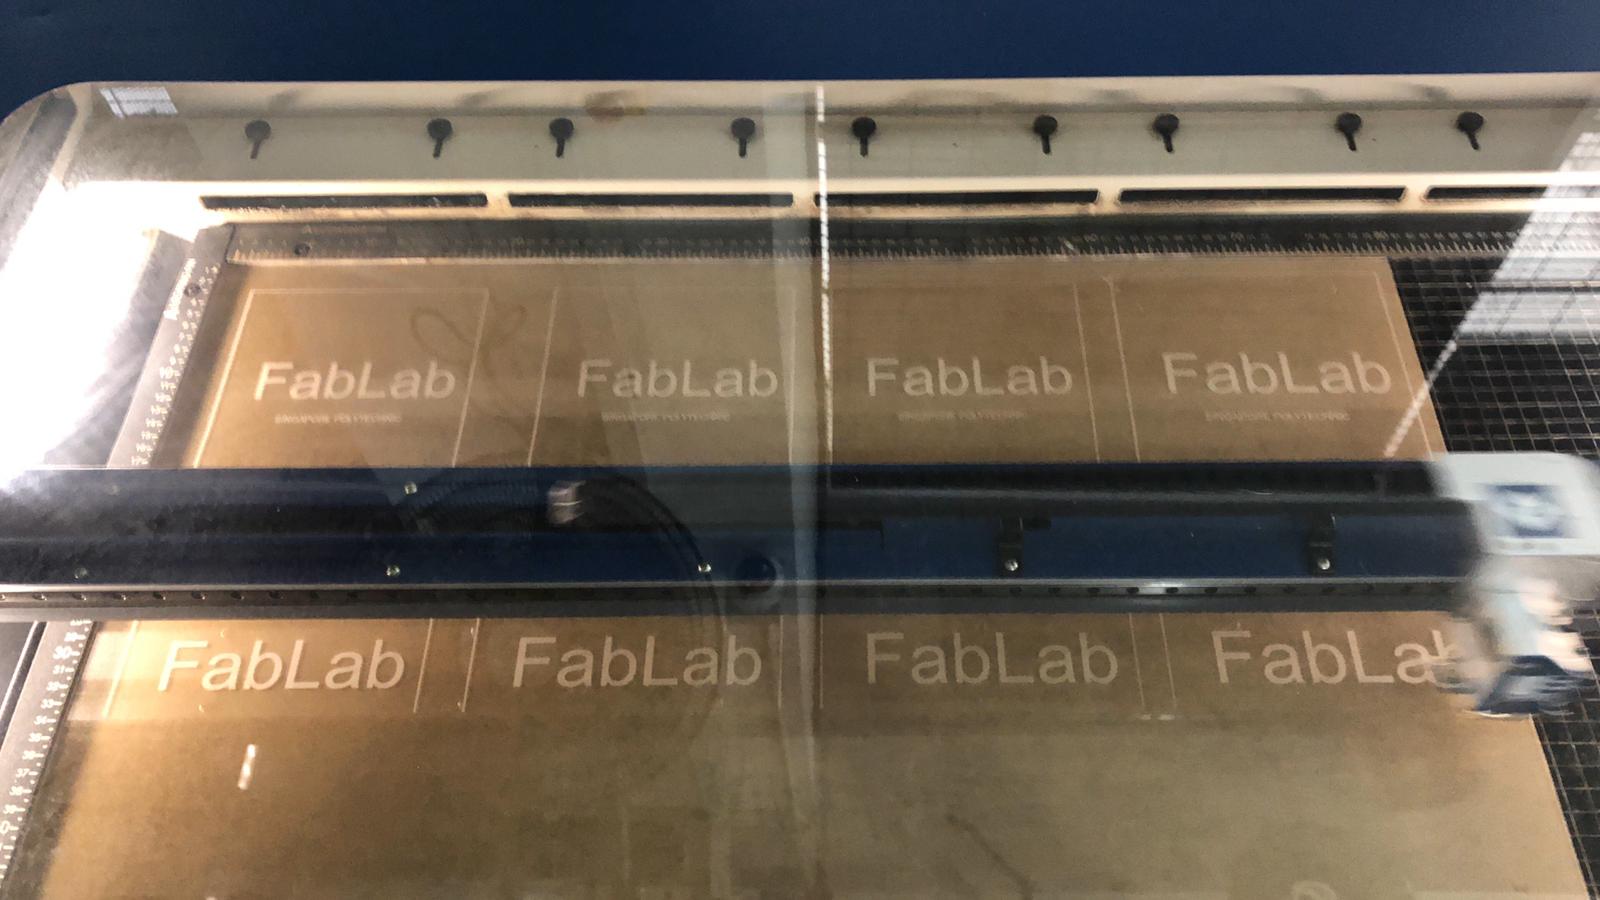
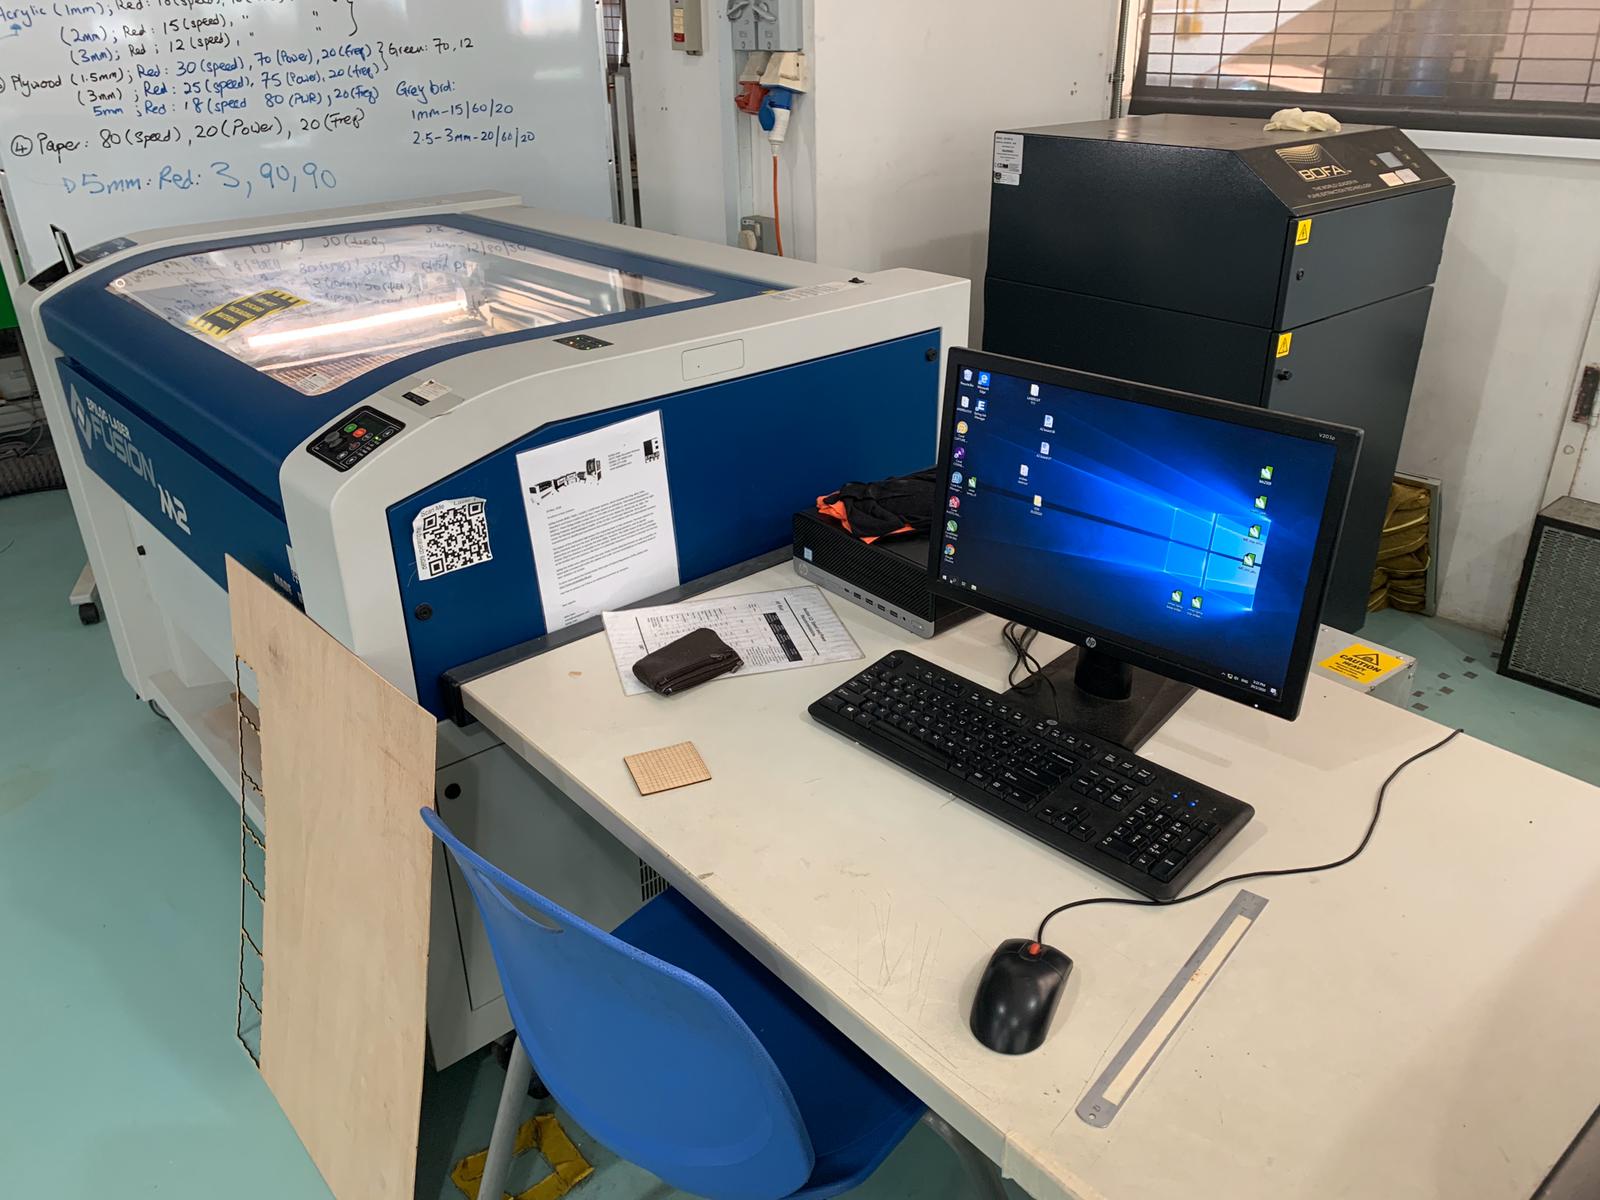
Problems faced, lack of time to cut new piece as laser cut machine quality was really bad and messed up the cutting
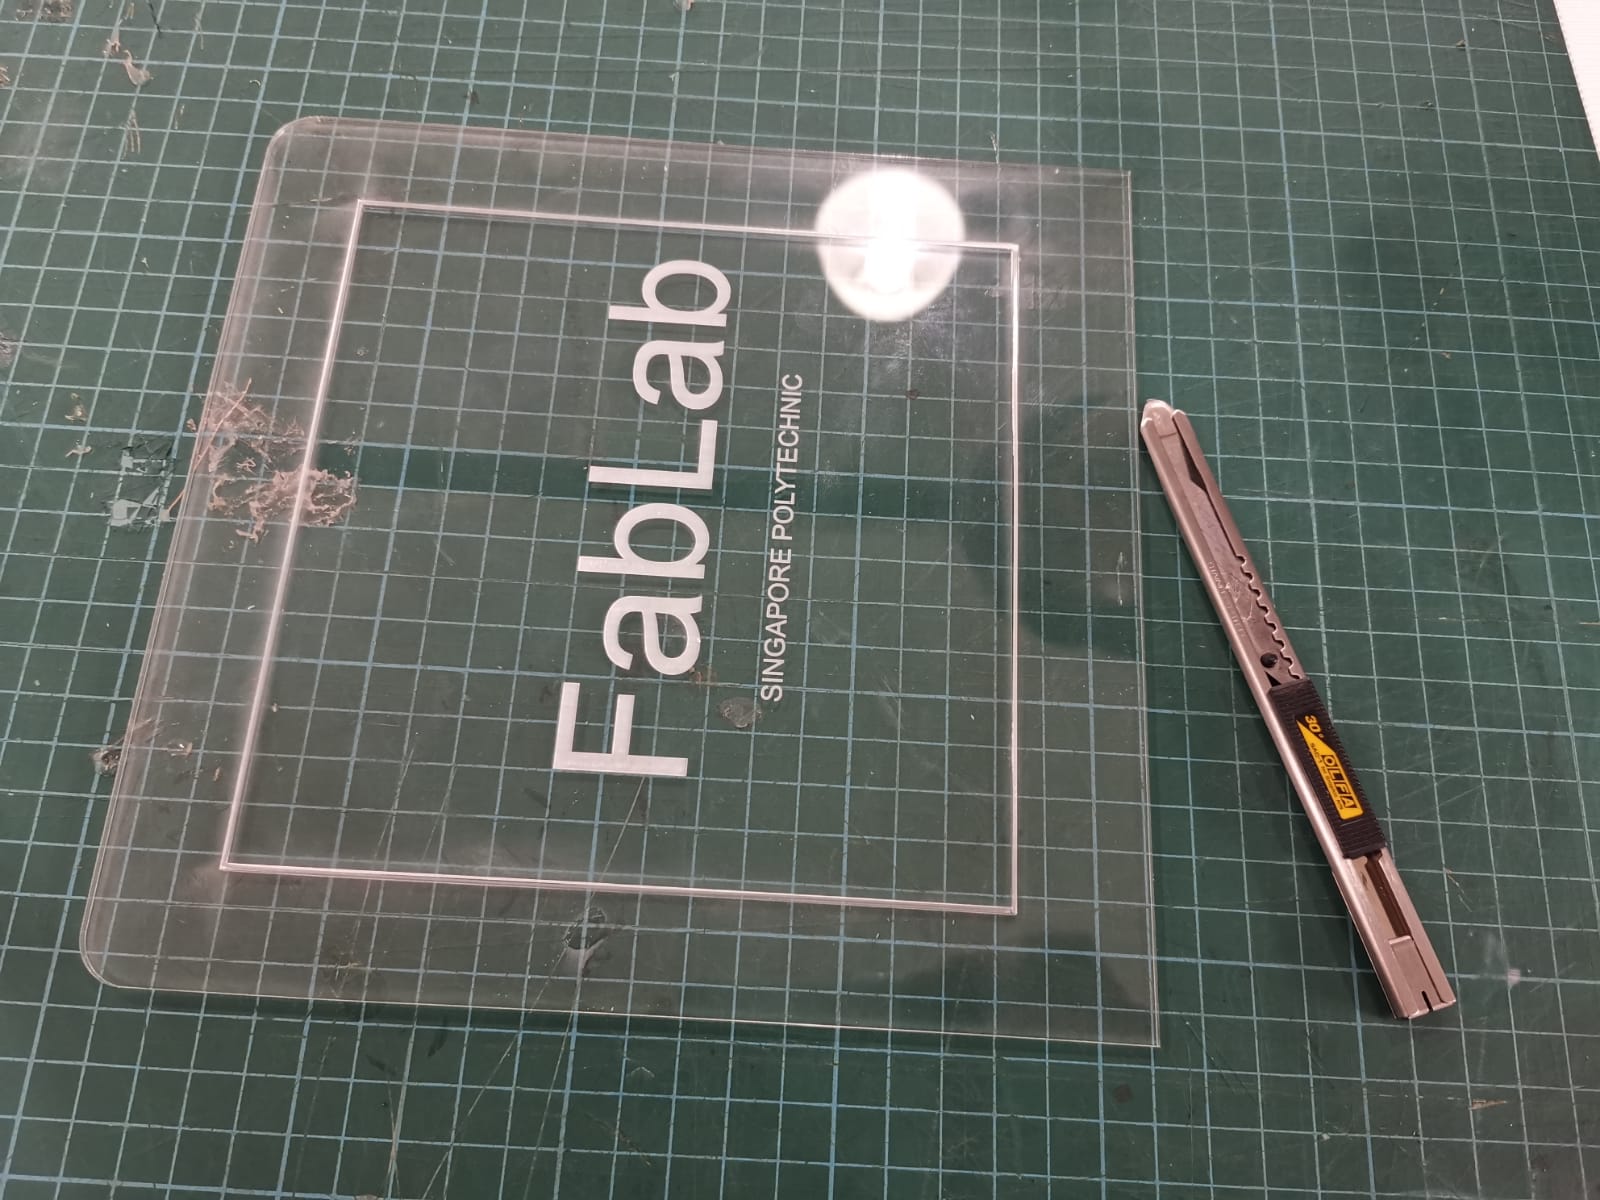
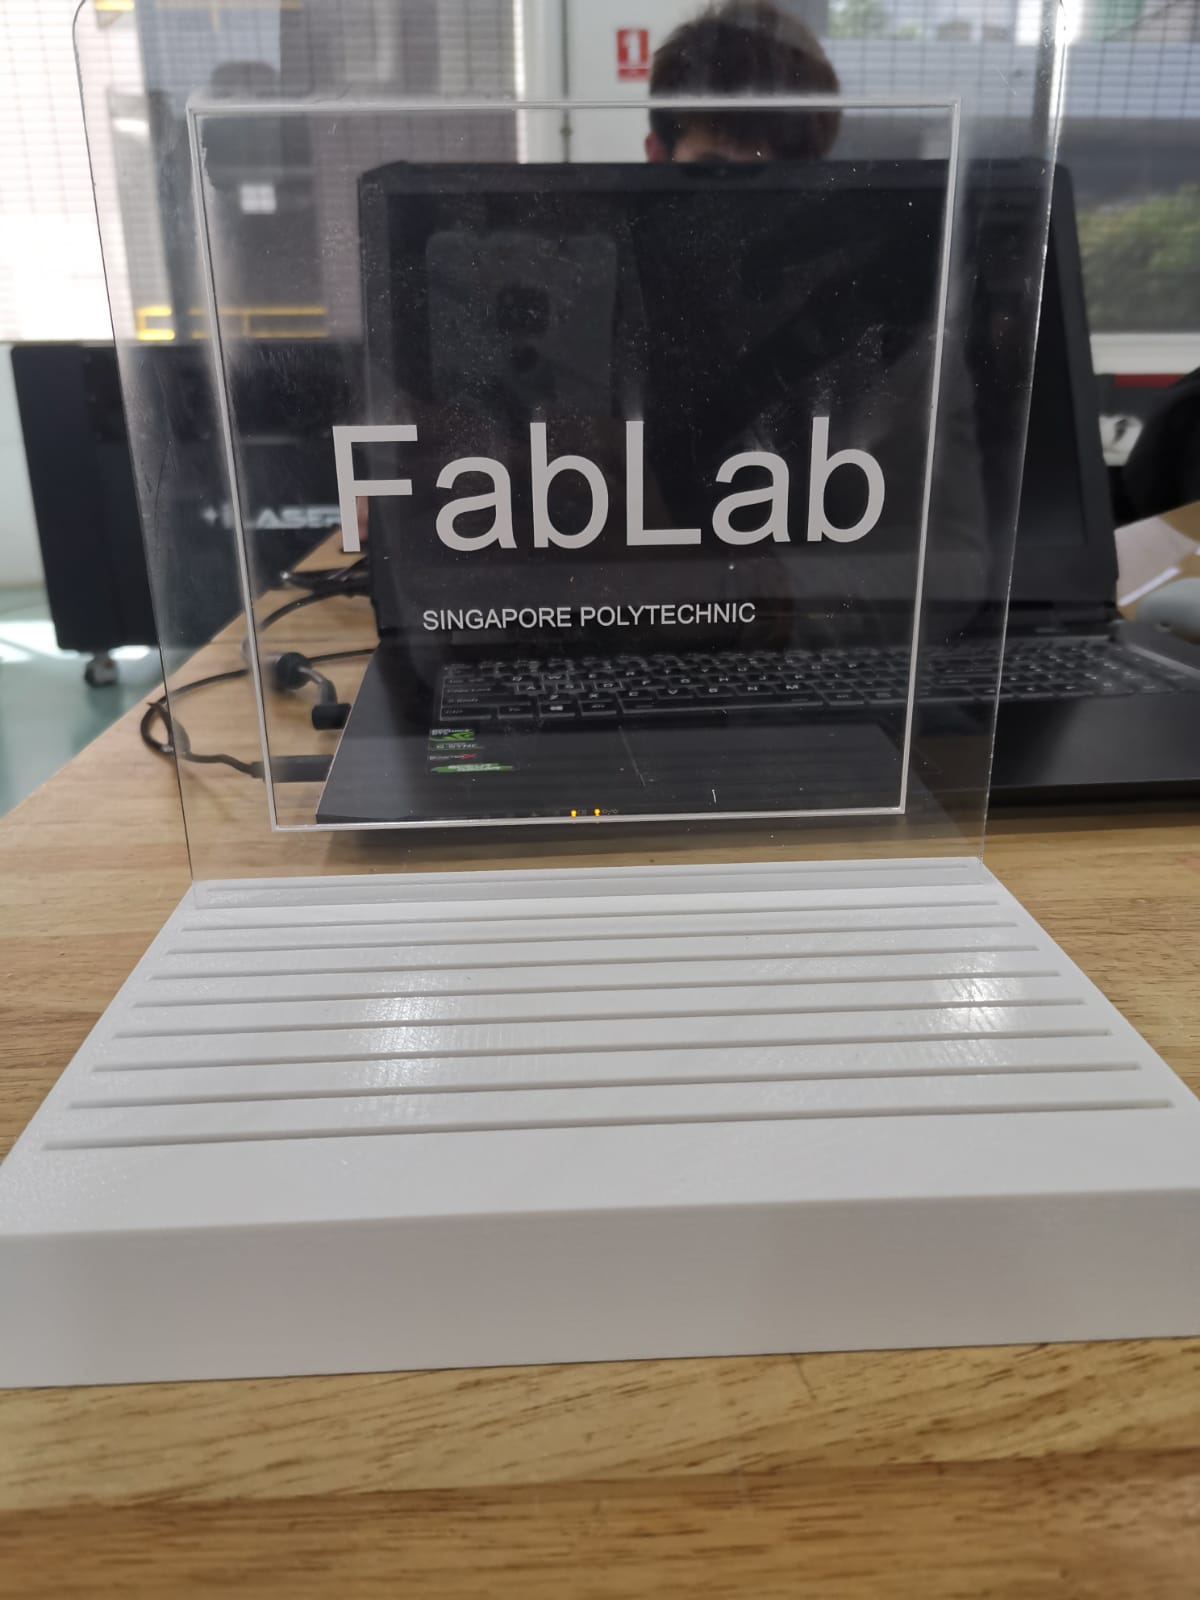
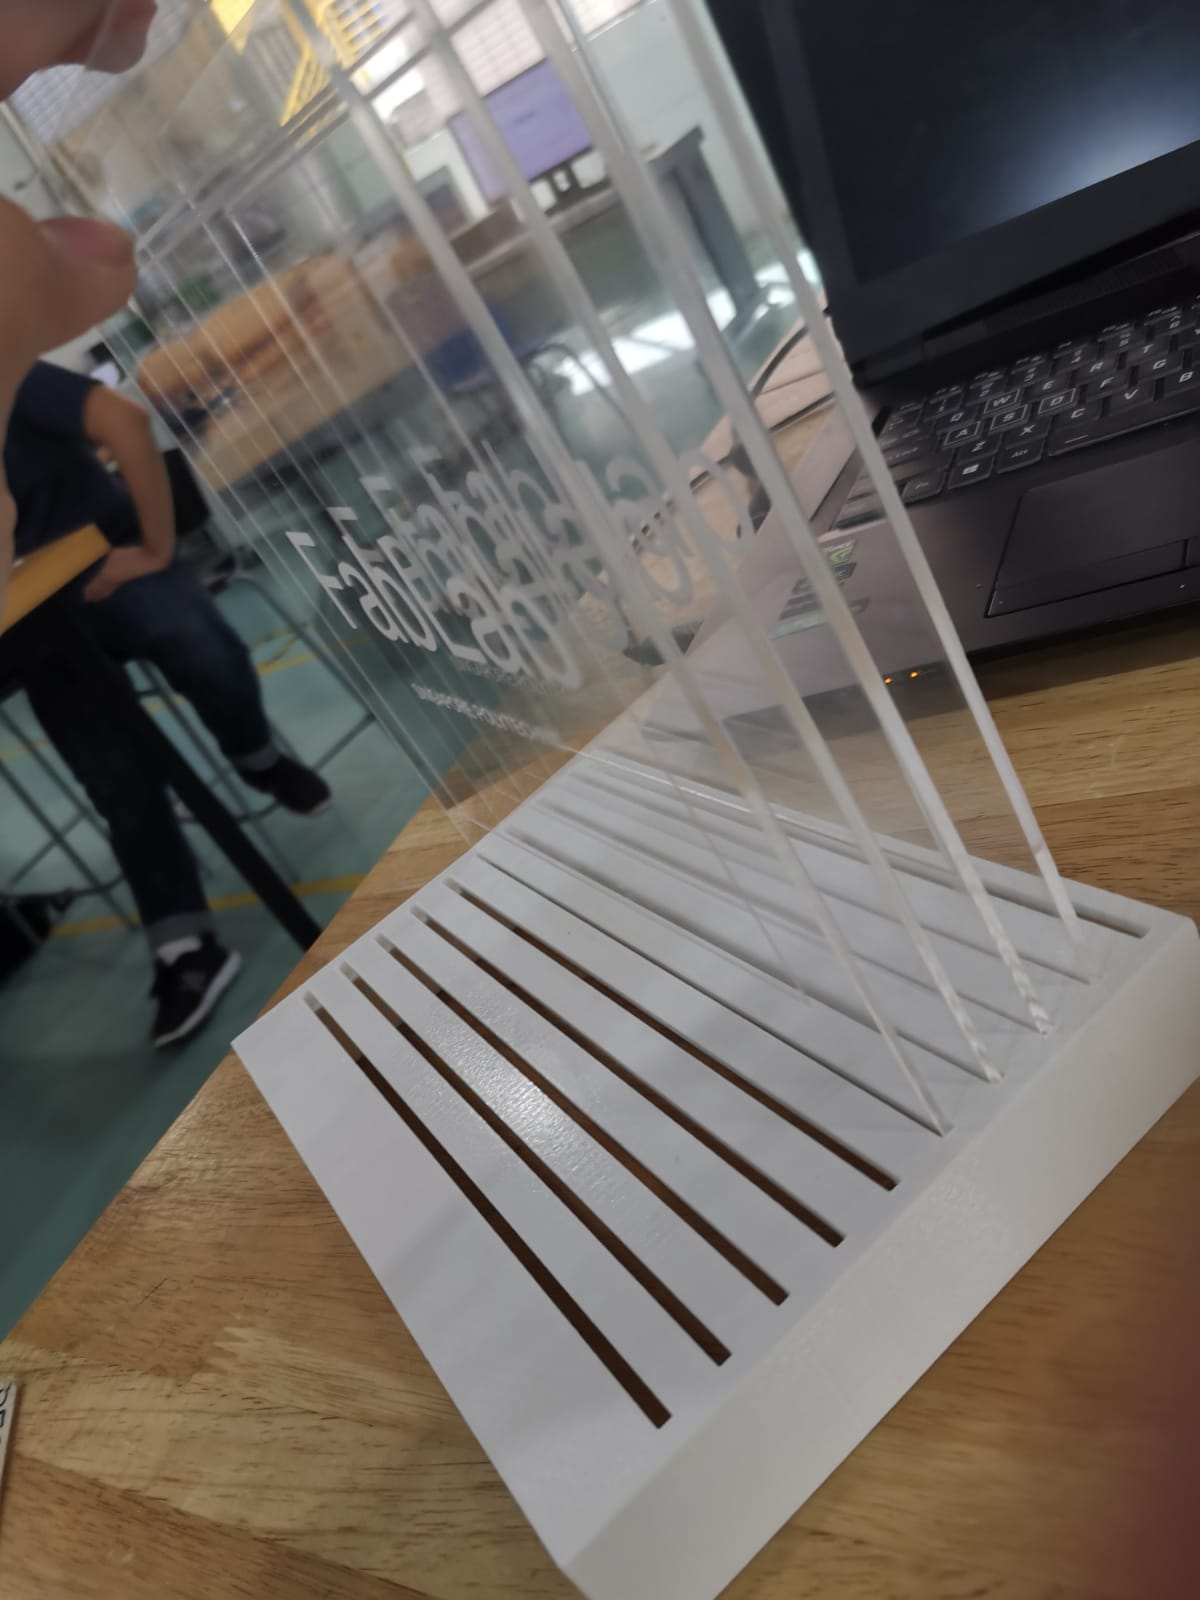
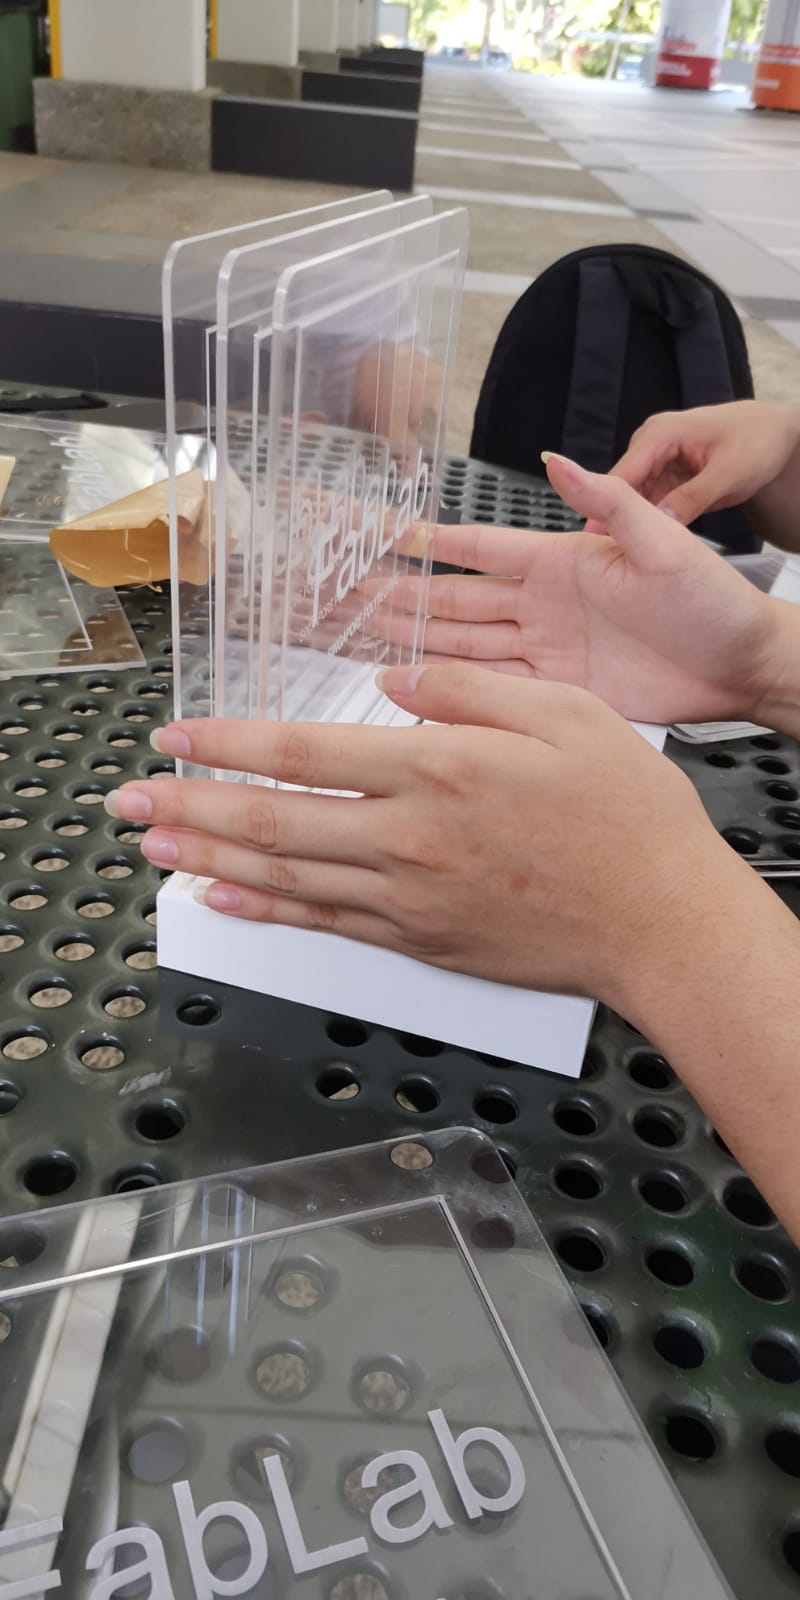
Planning of new design due to lack of time and came up with another new one and the base needs to be redesign and be printed again
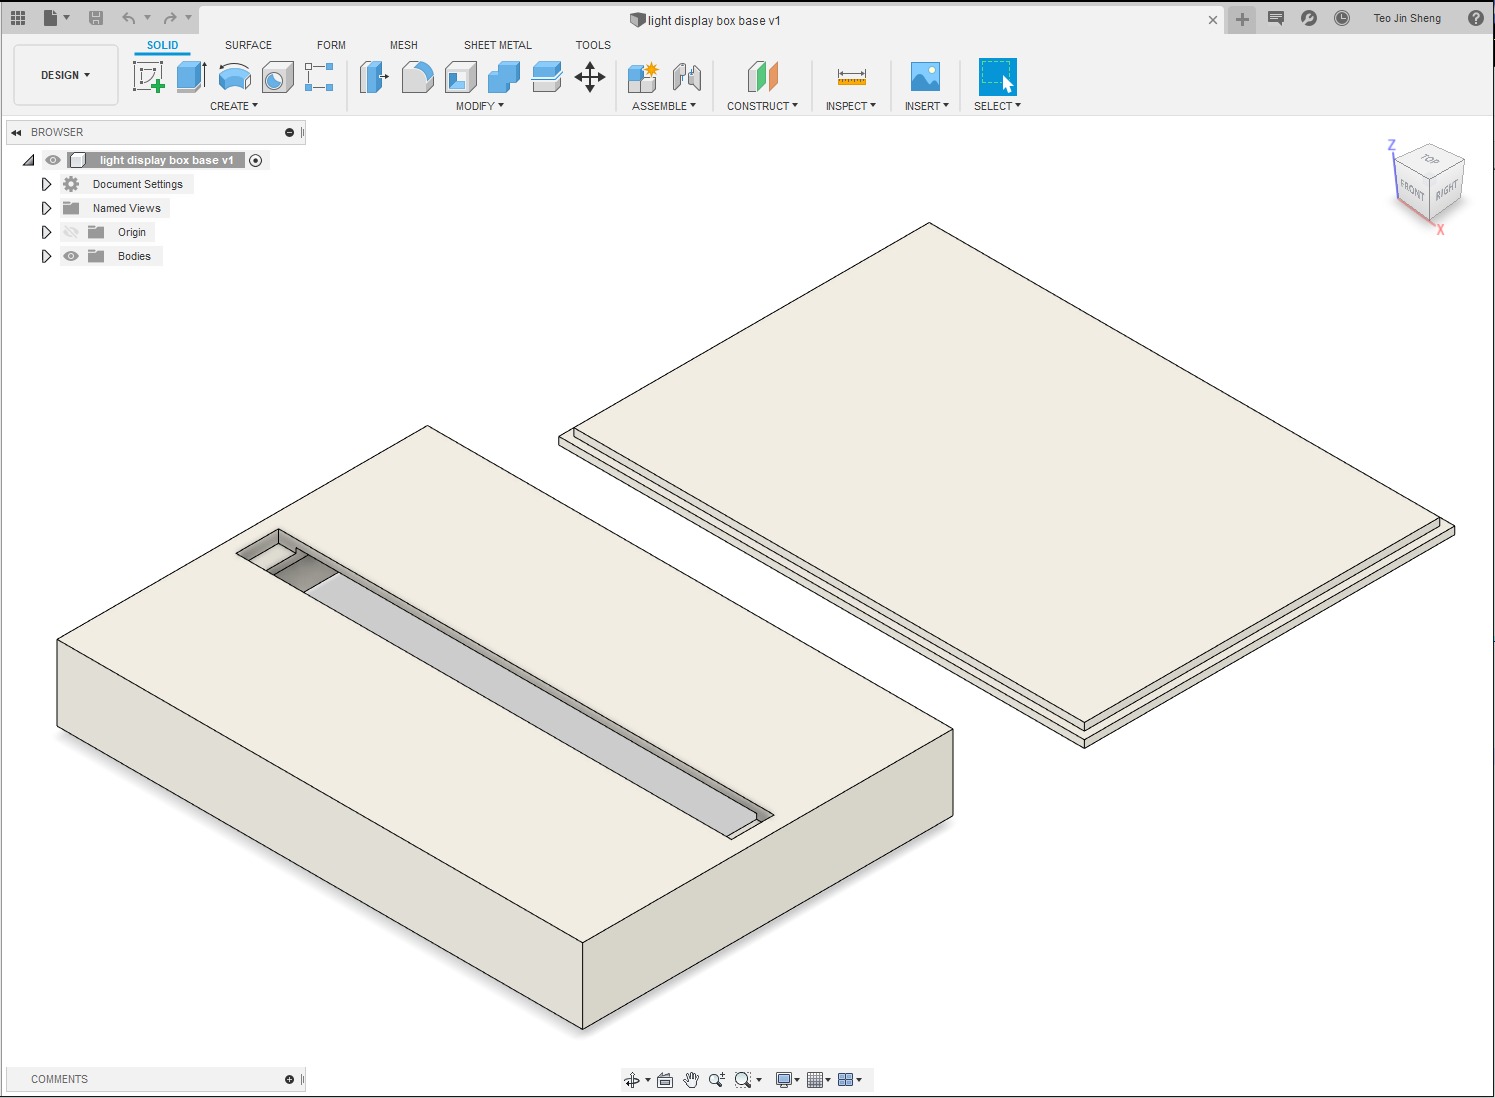
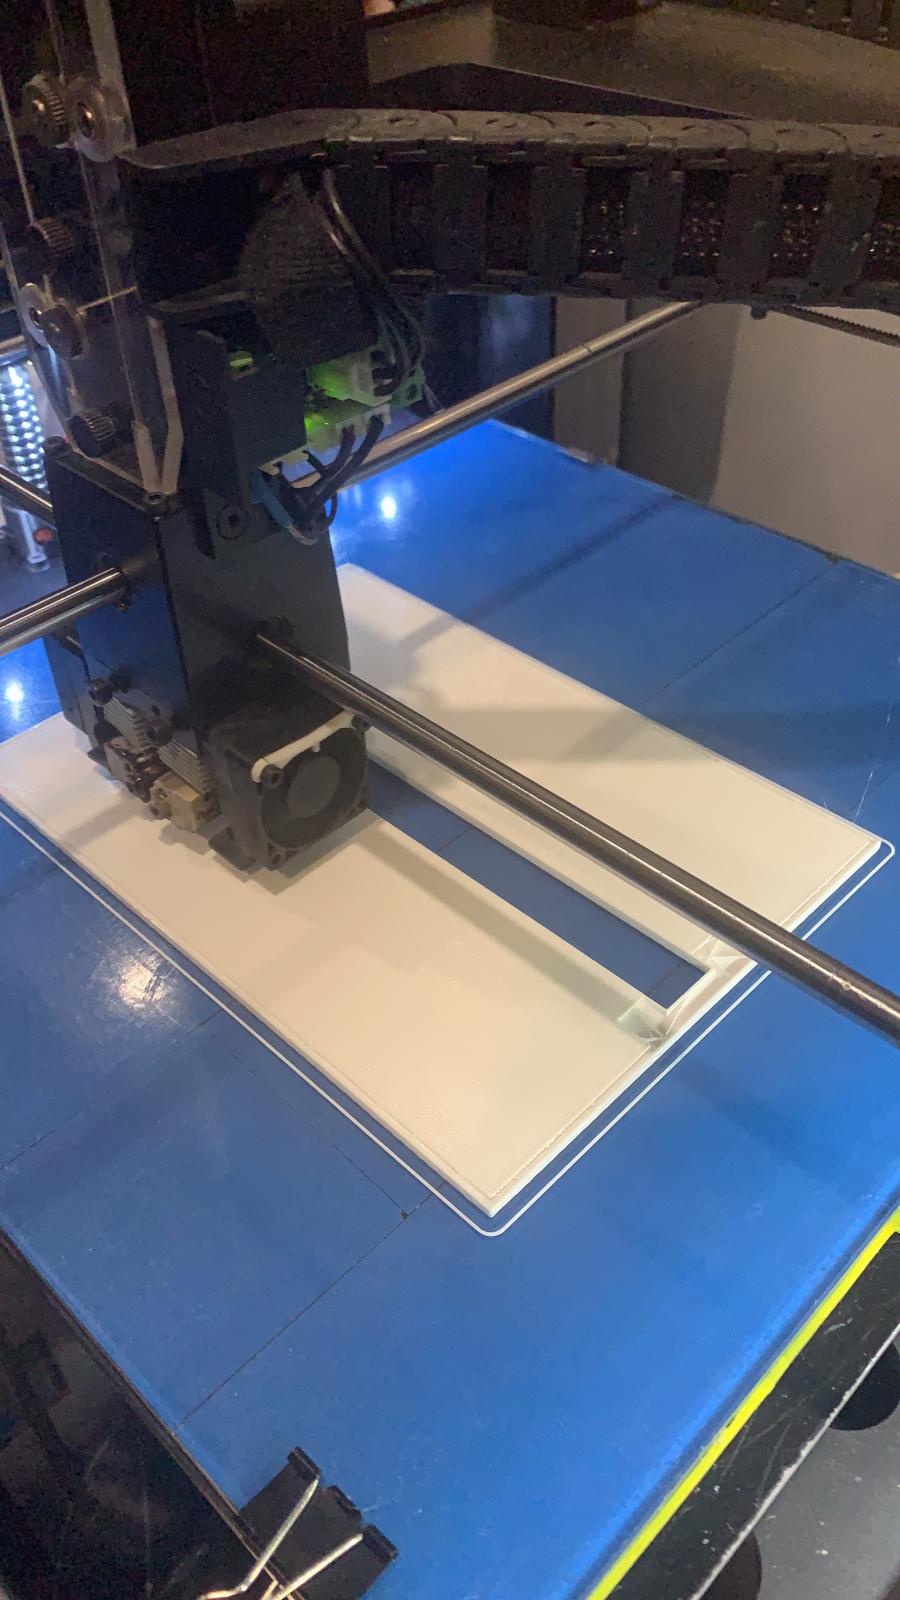
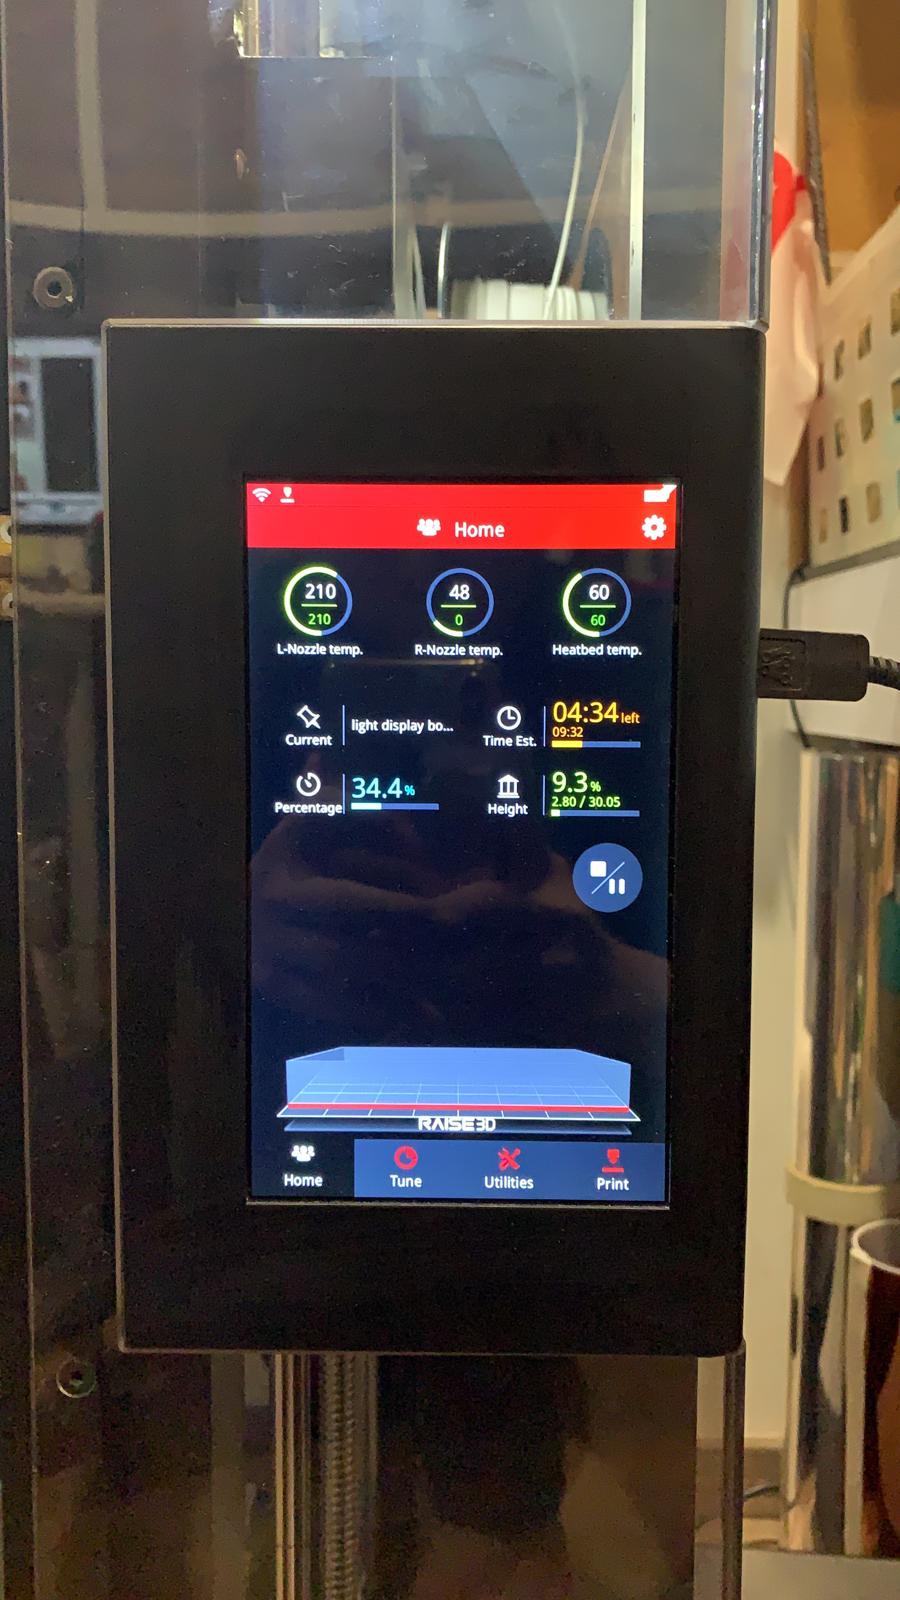
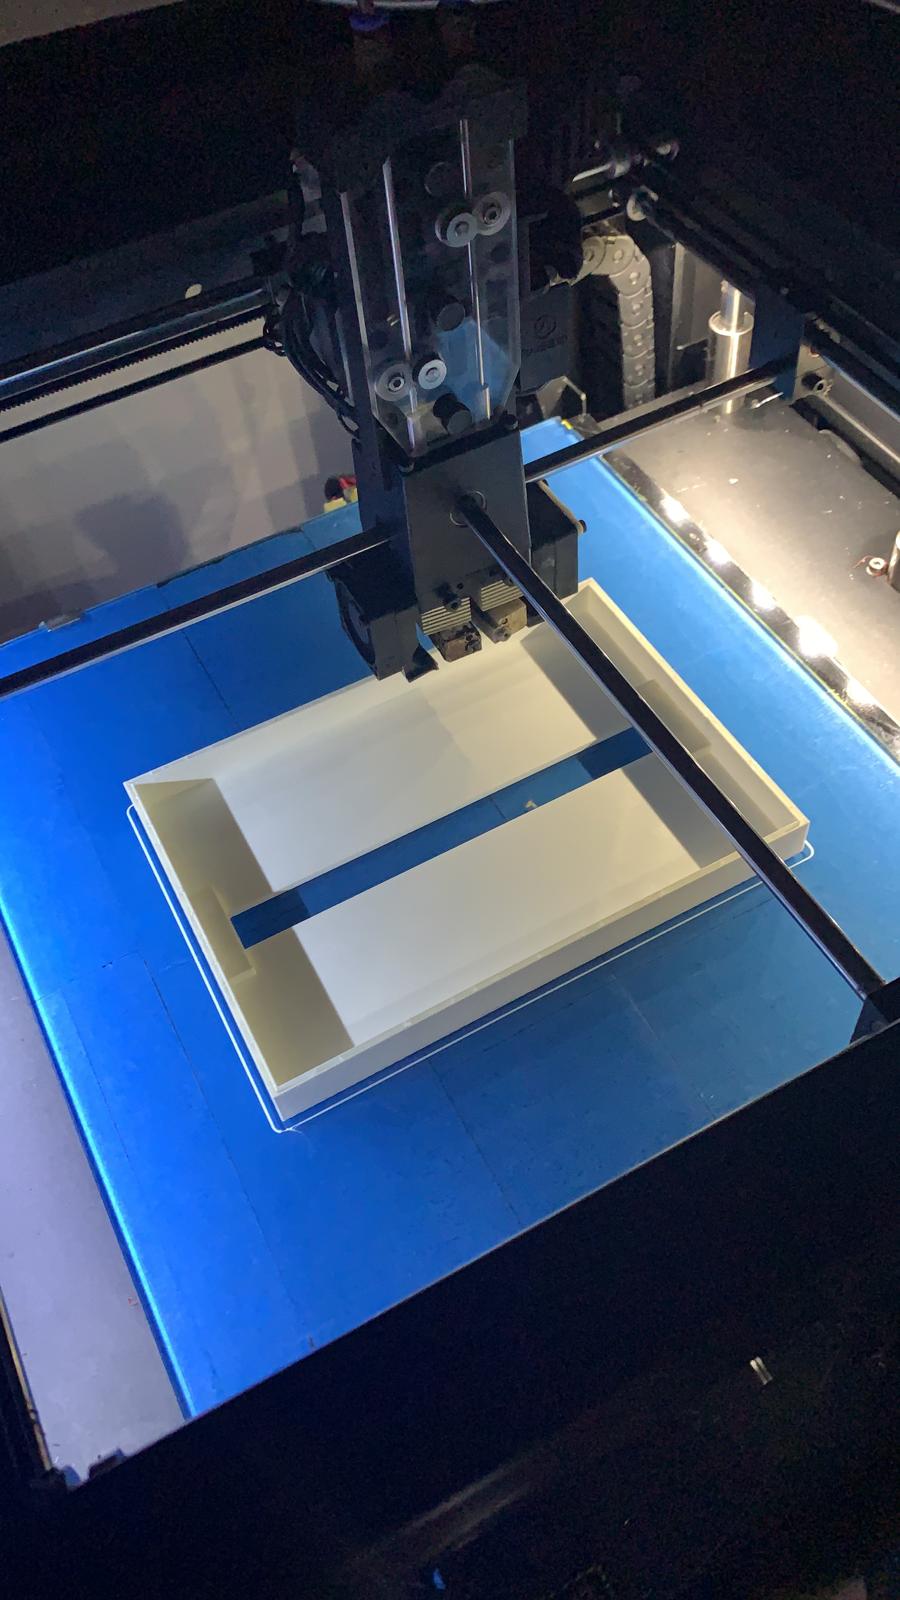
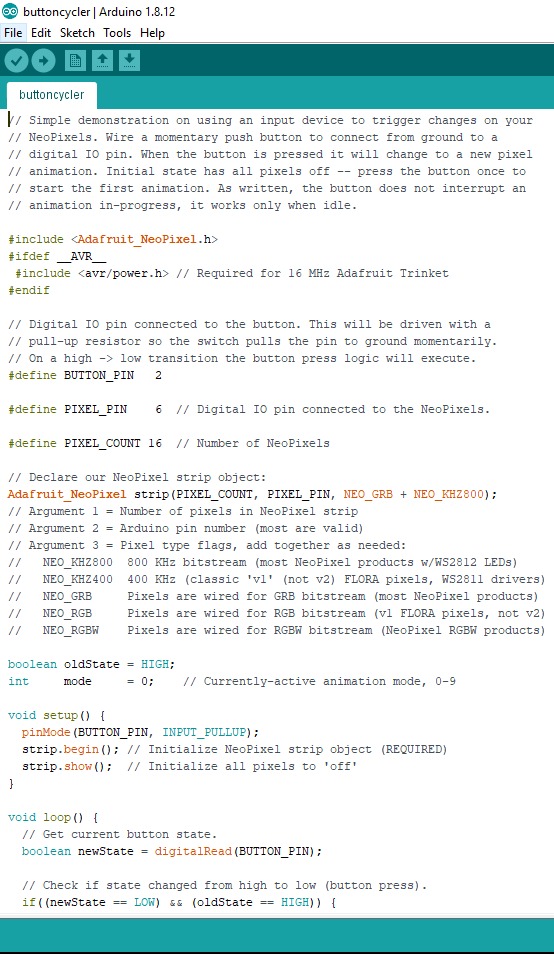
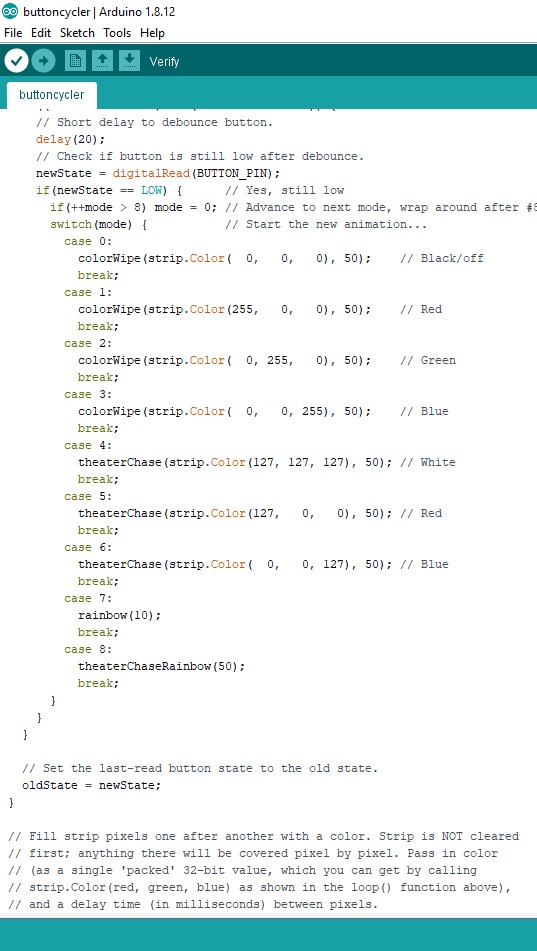
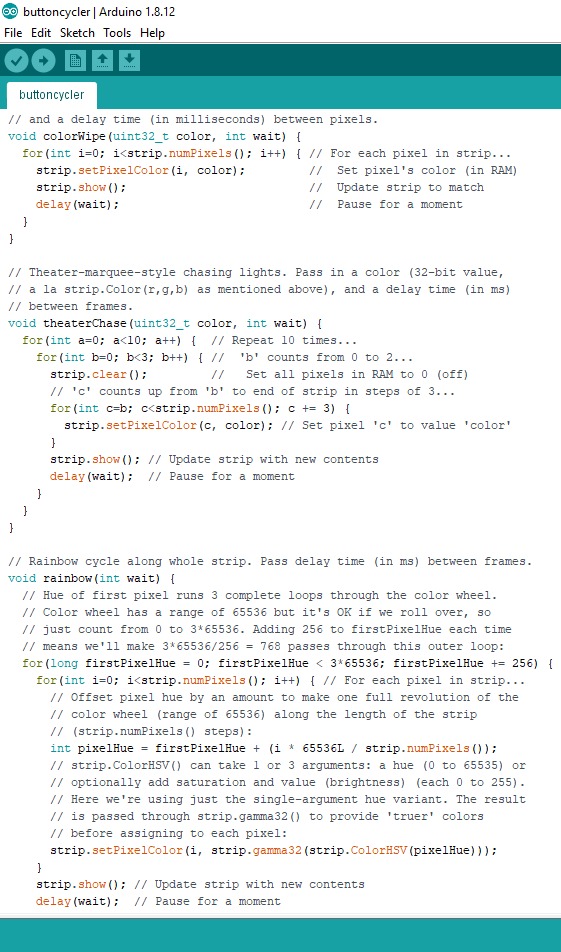
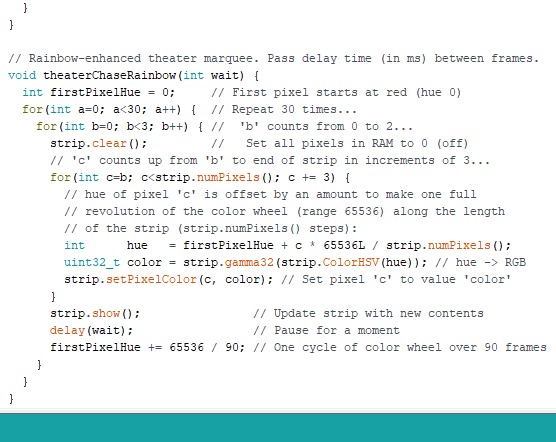
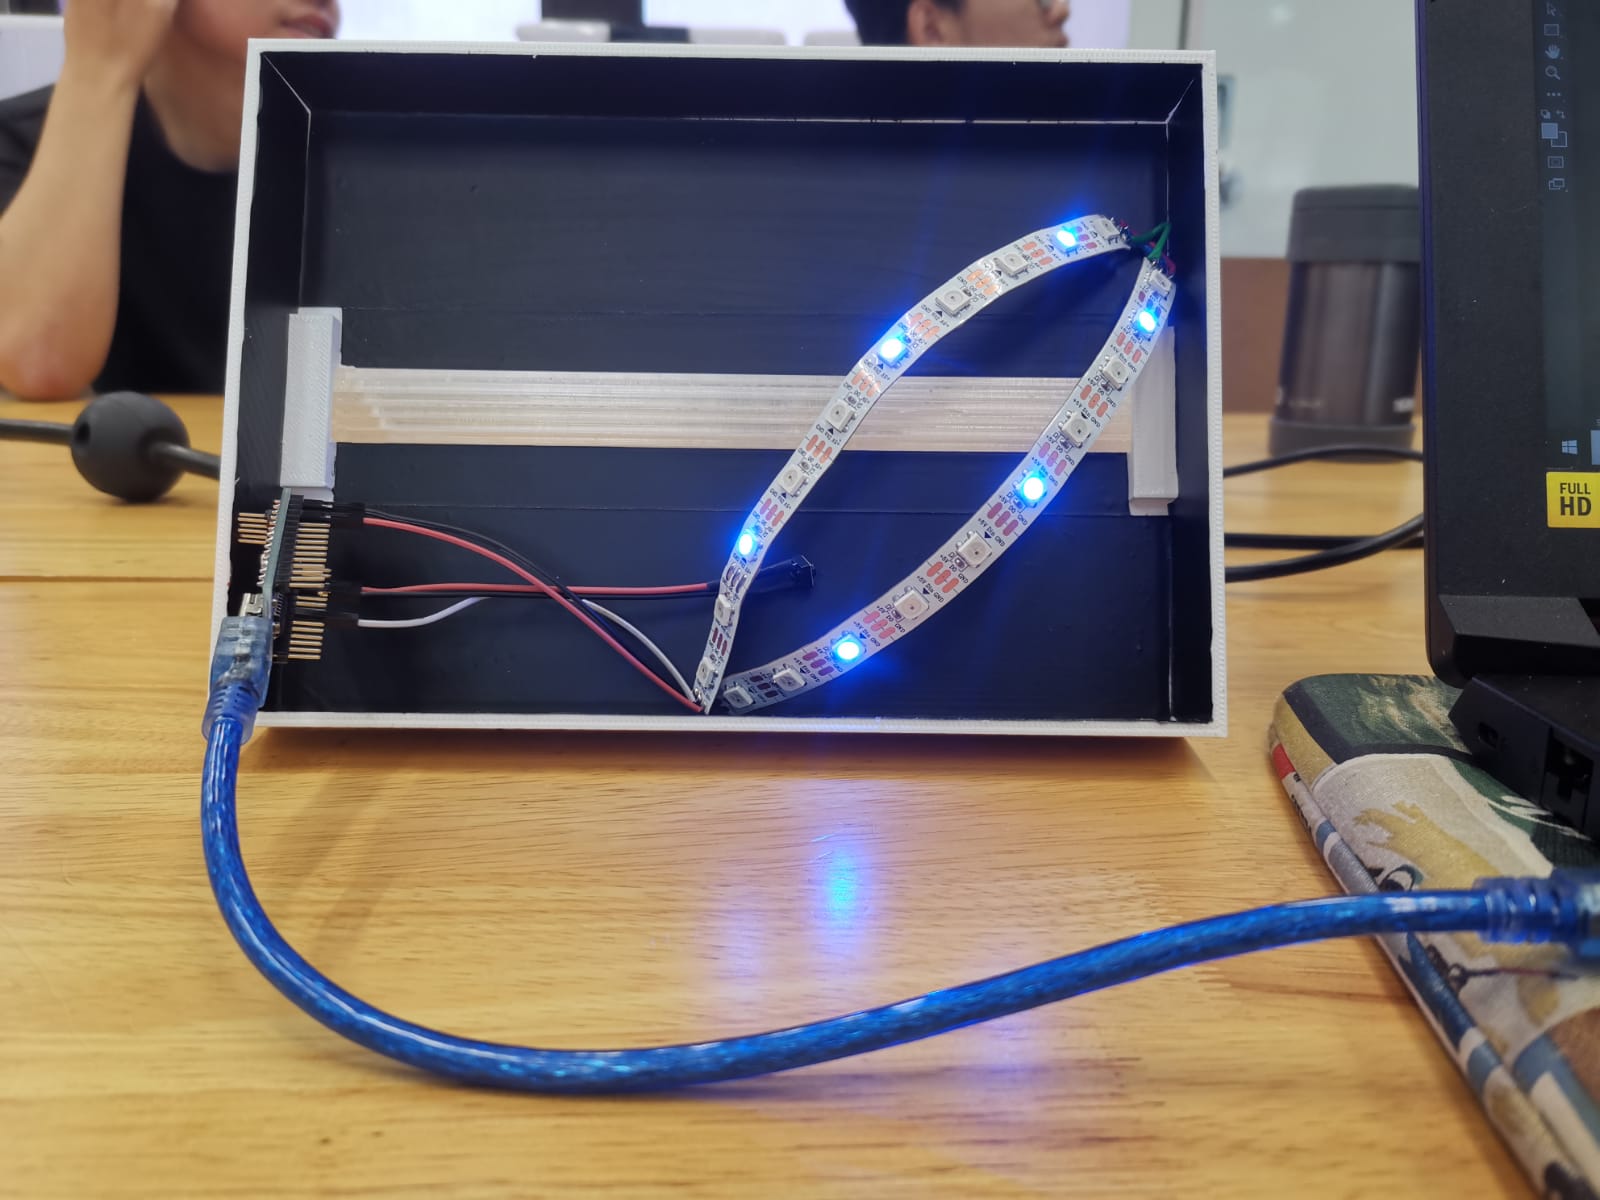
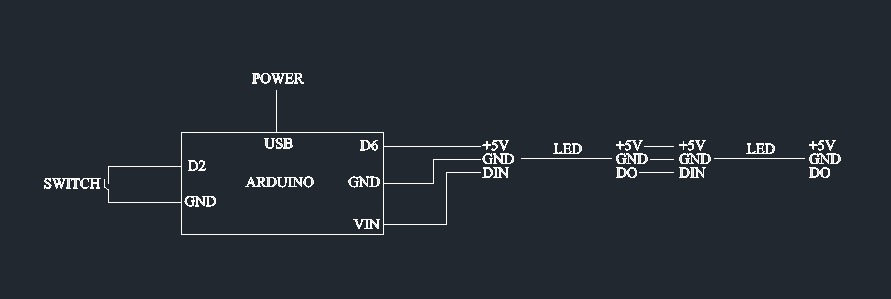
After all the structural parts being done programming is needed, Arduino nano is used and the Neopixel programme had been loaded in
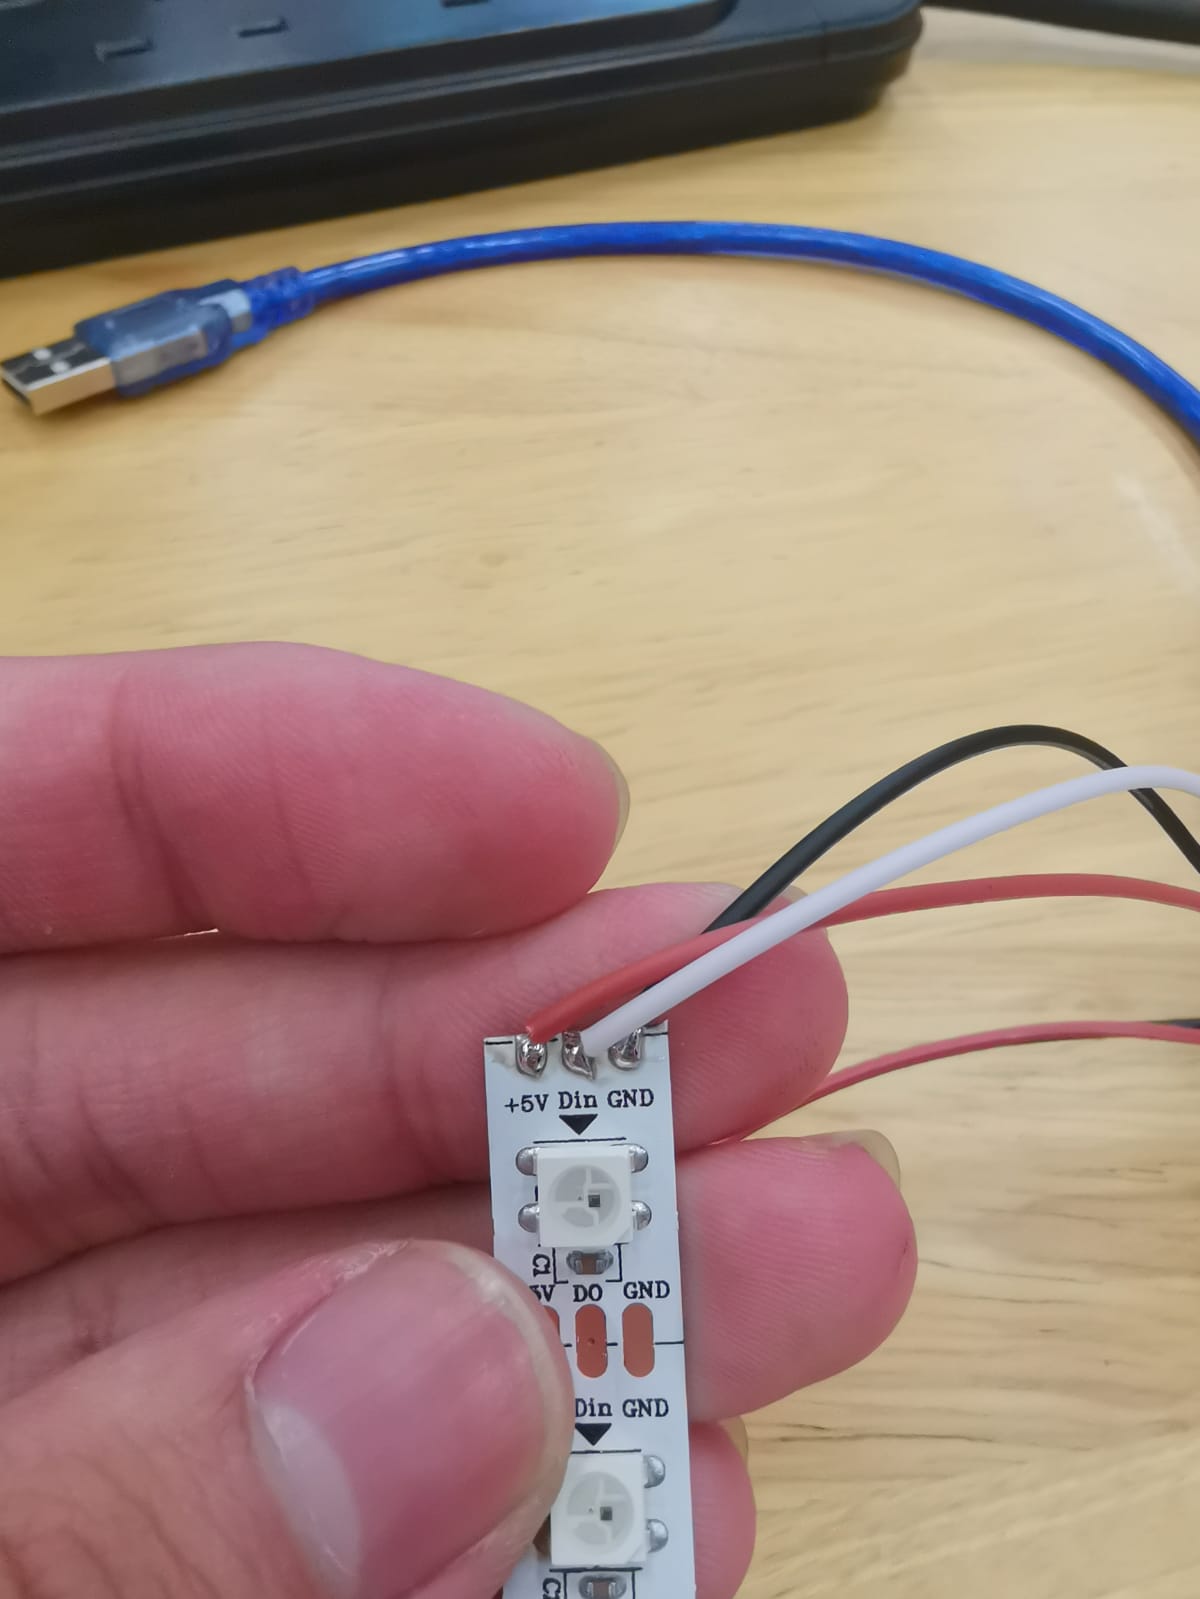
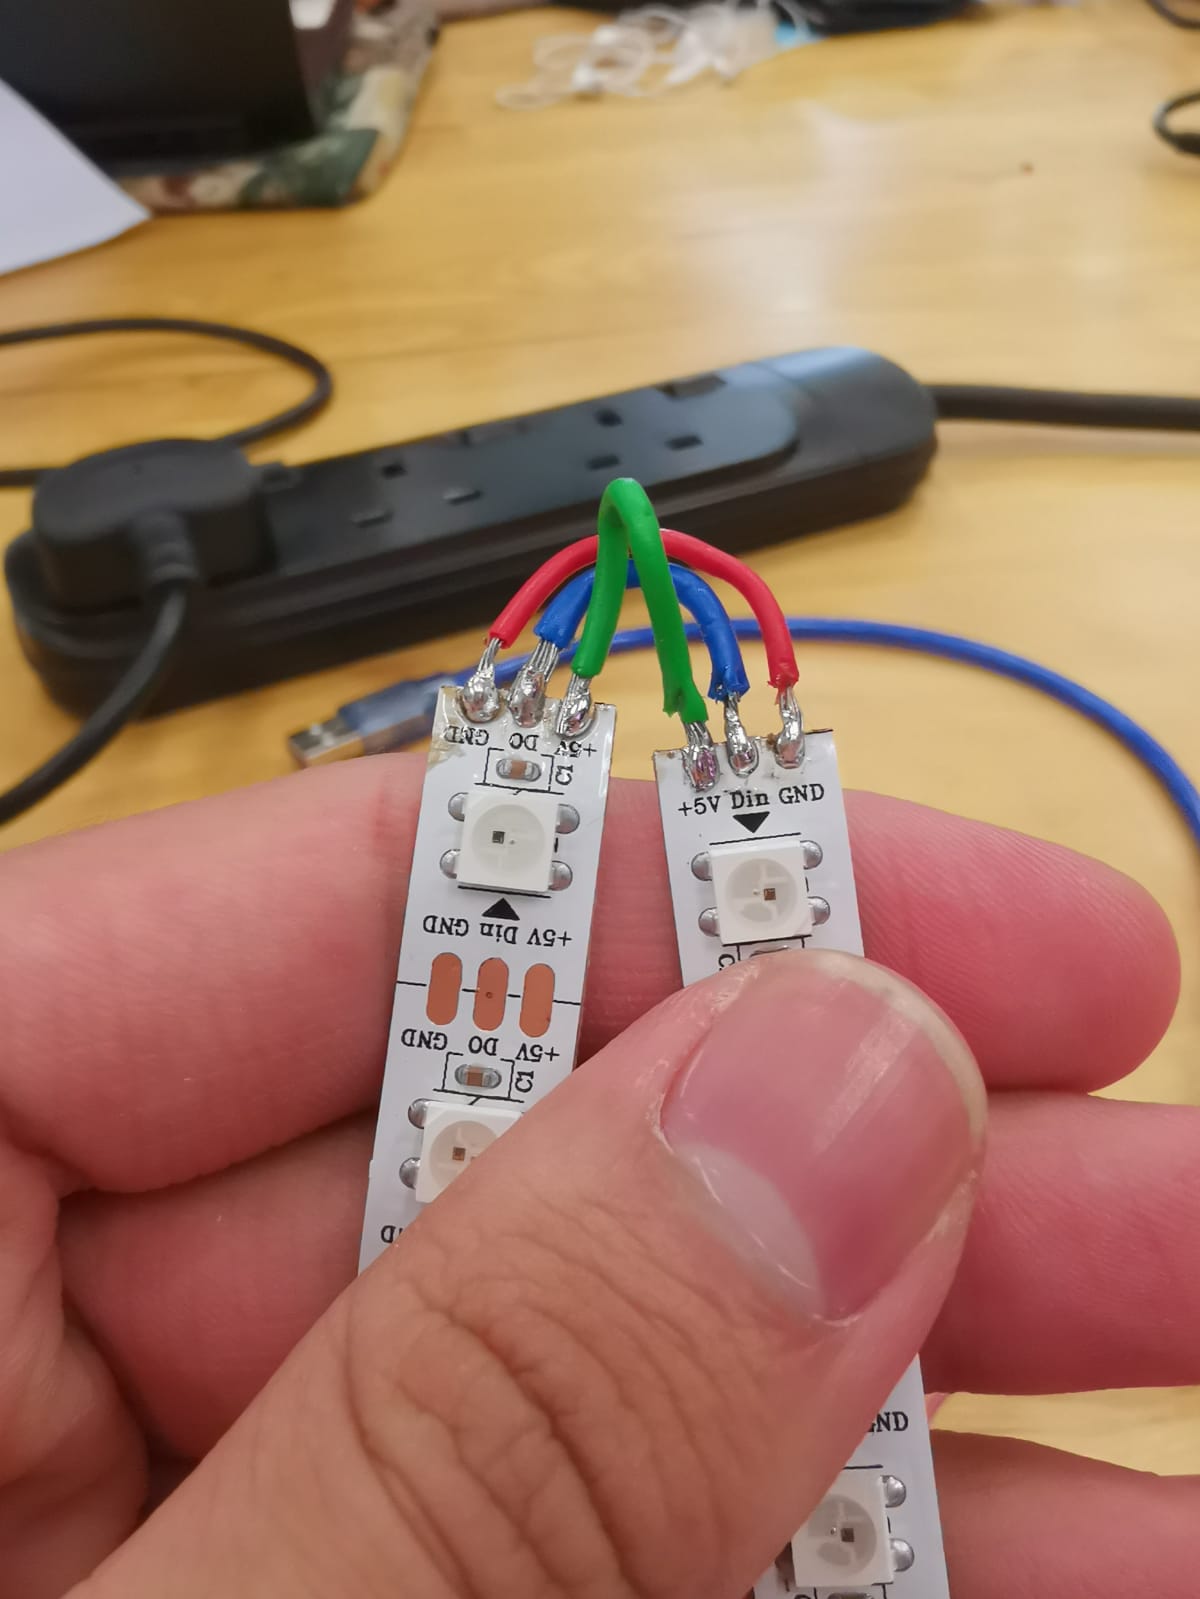
Next the electrical parts needs to be soldered together
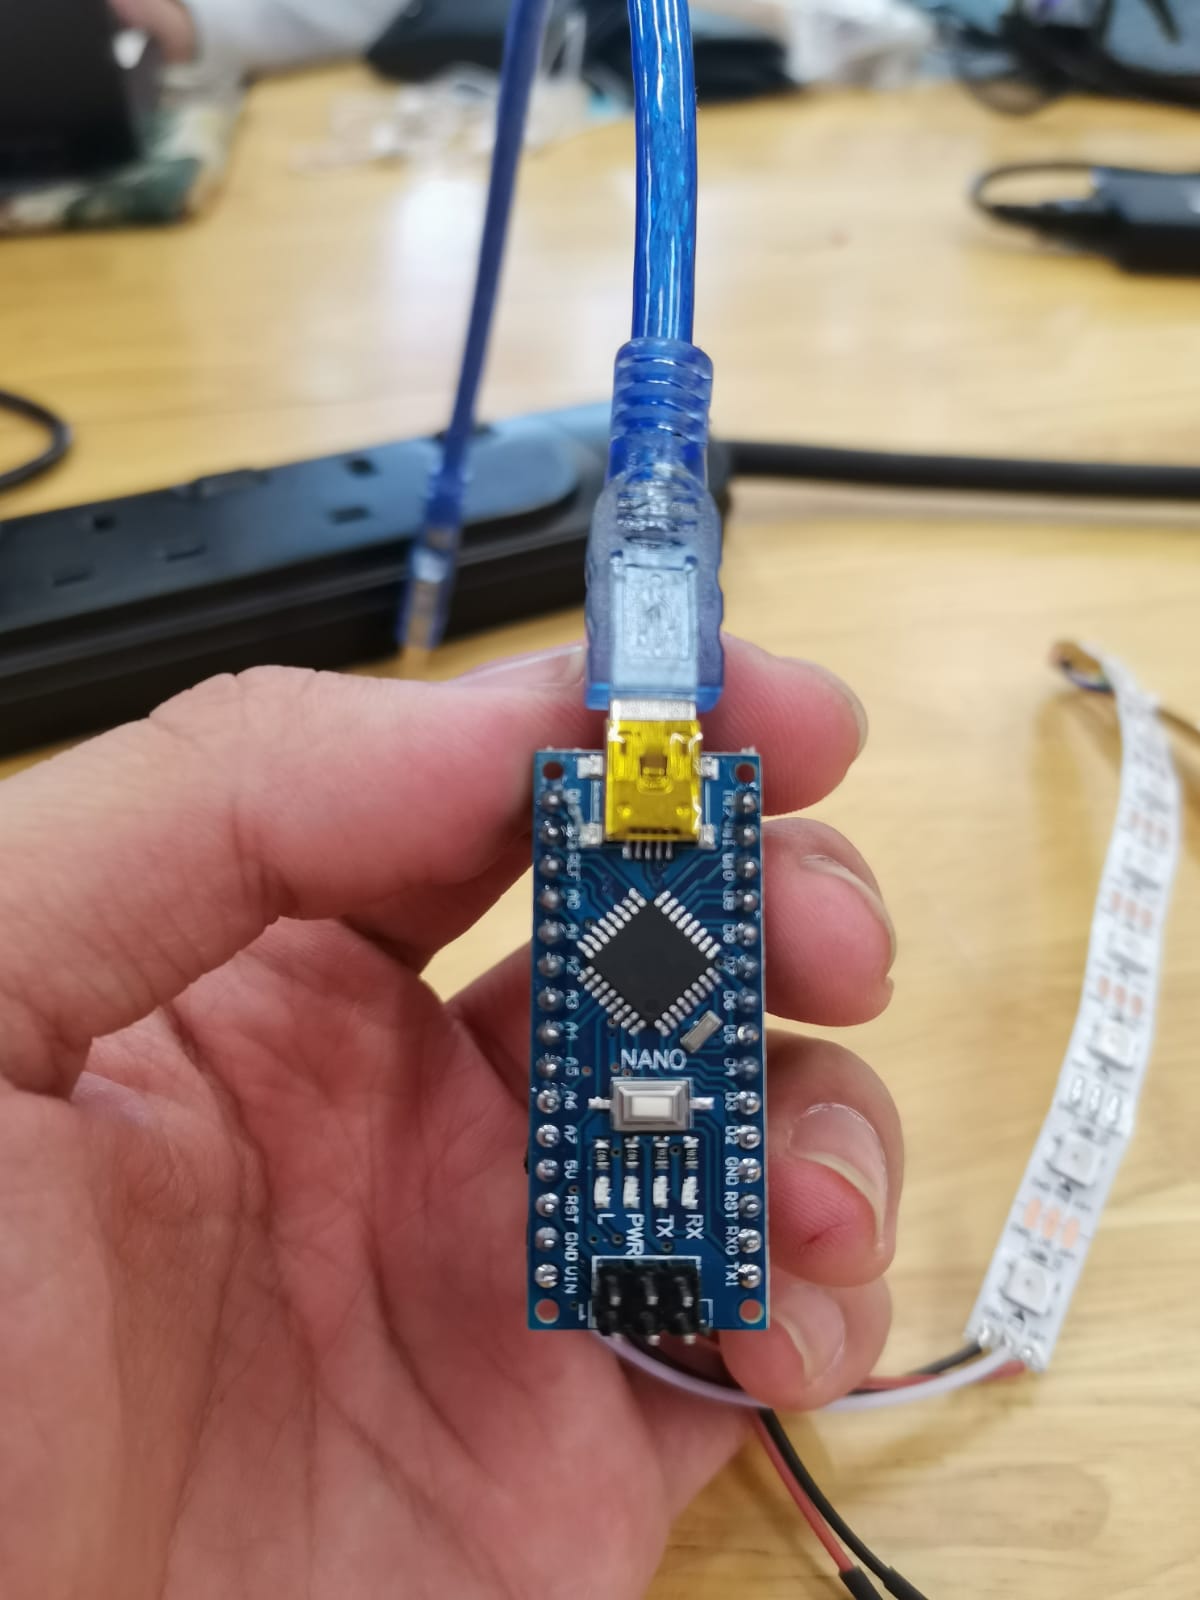
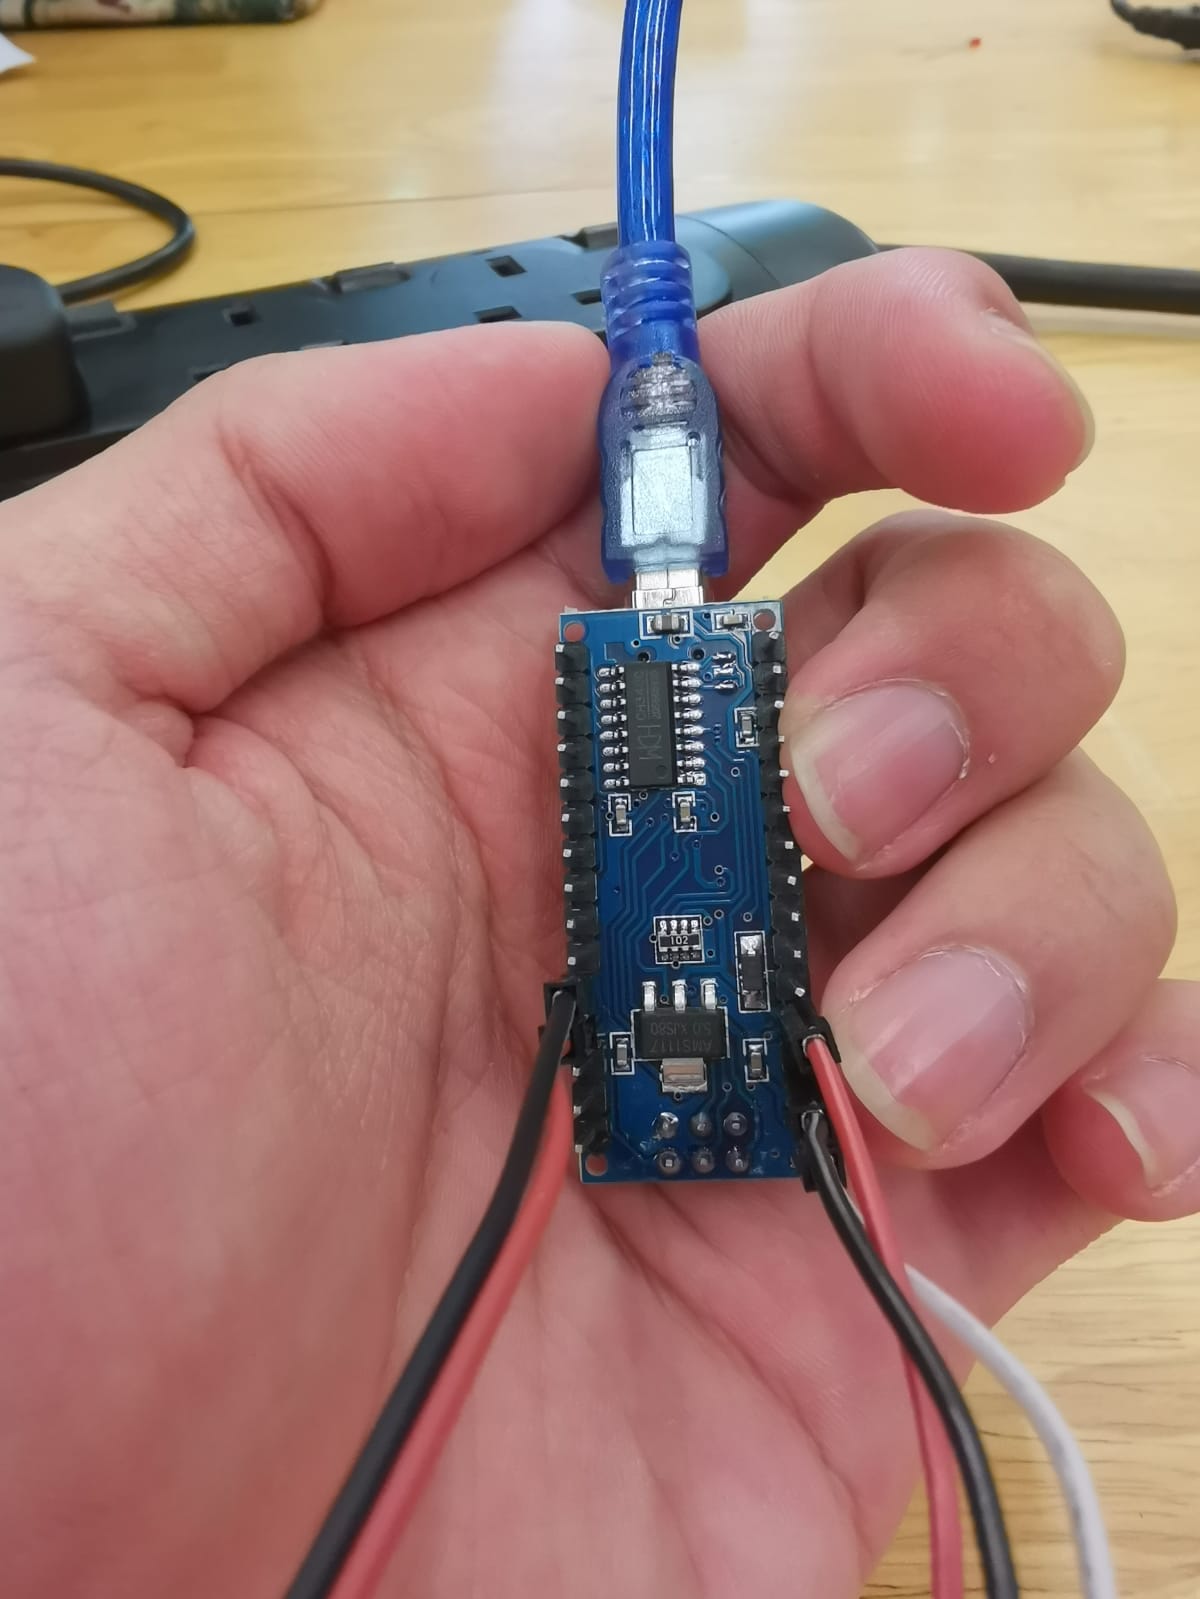
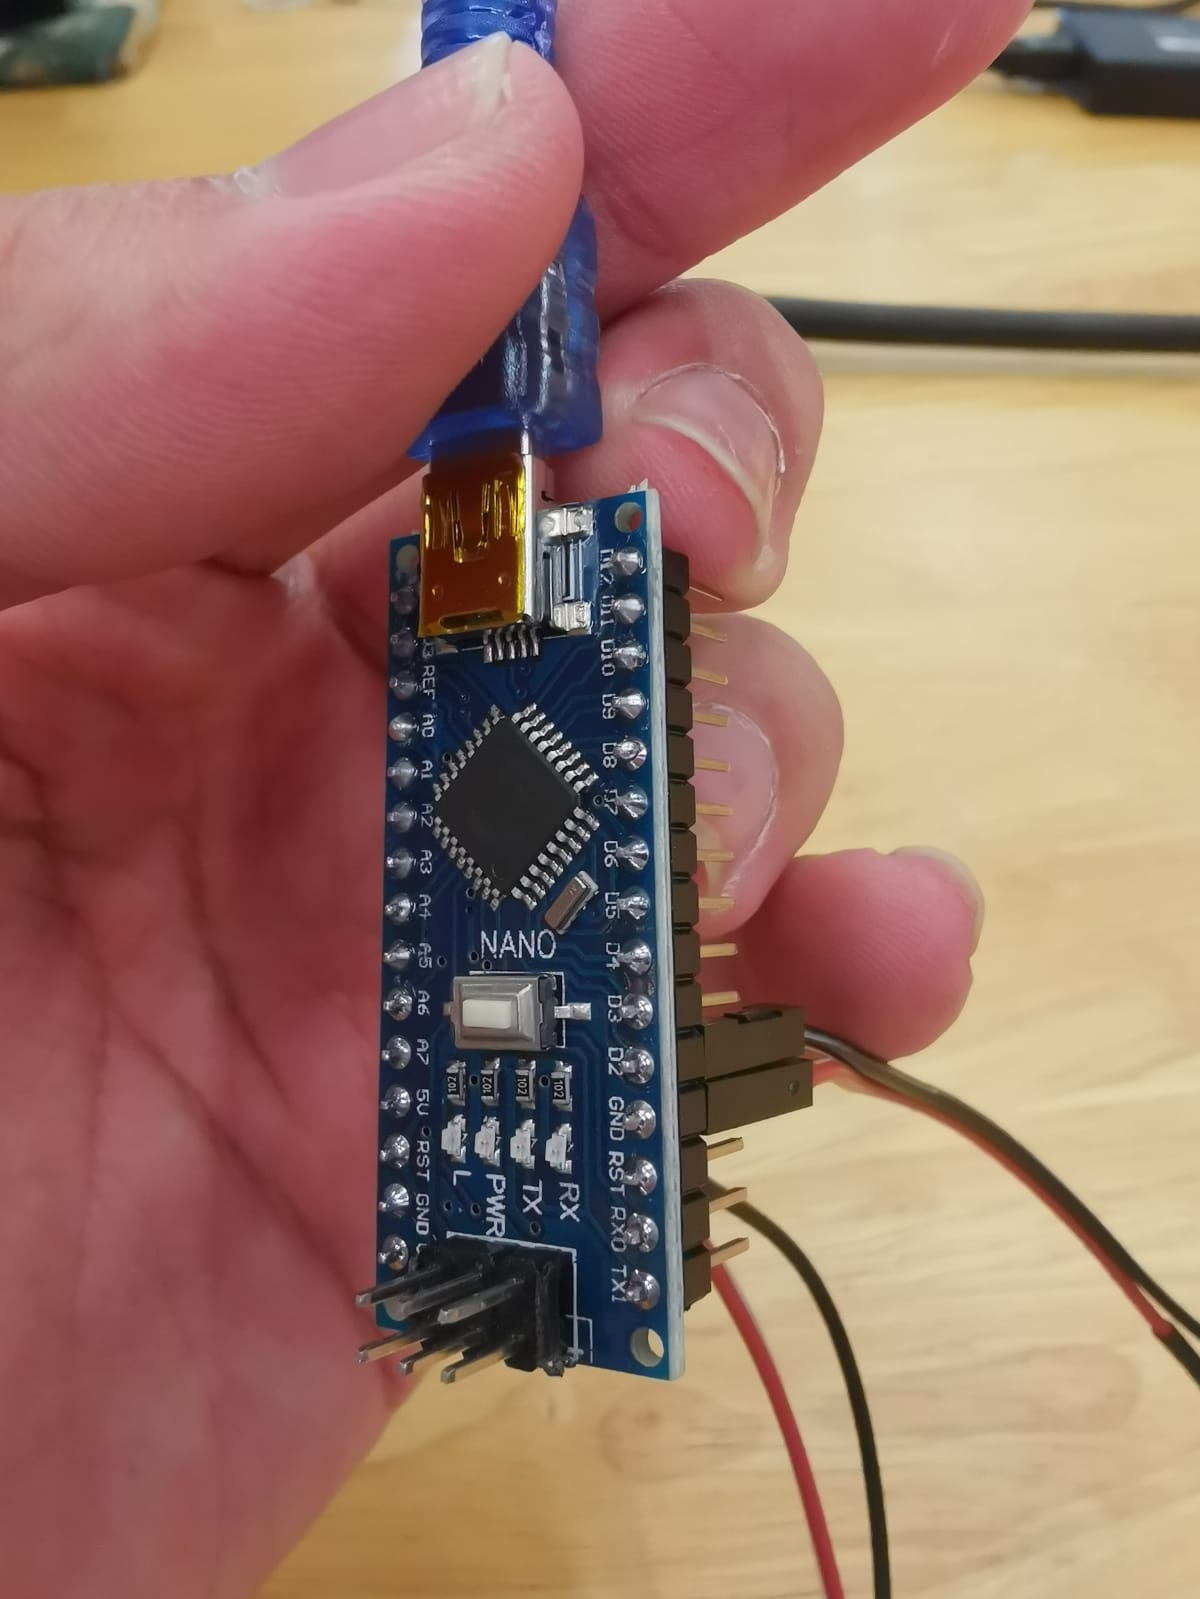
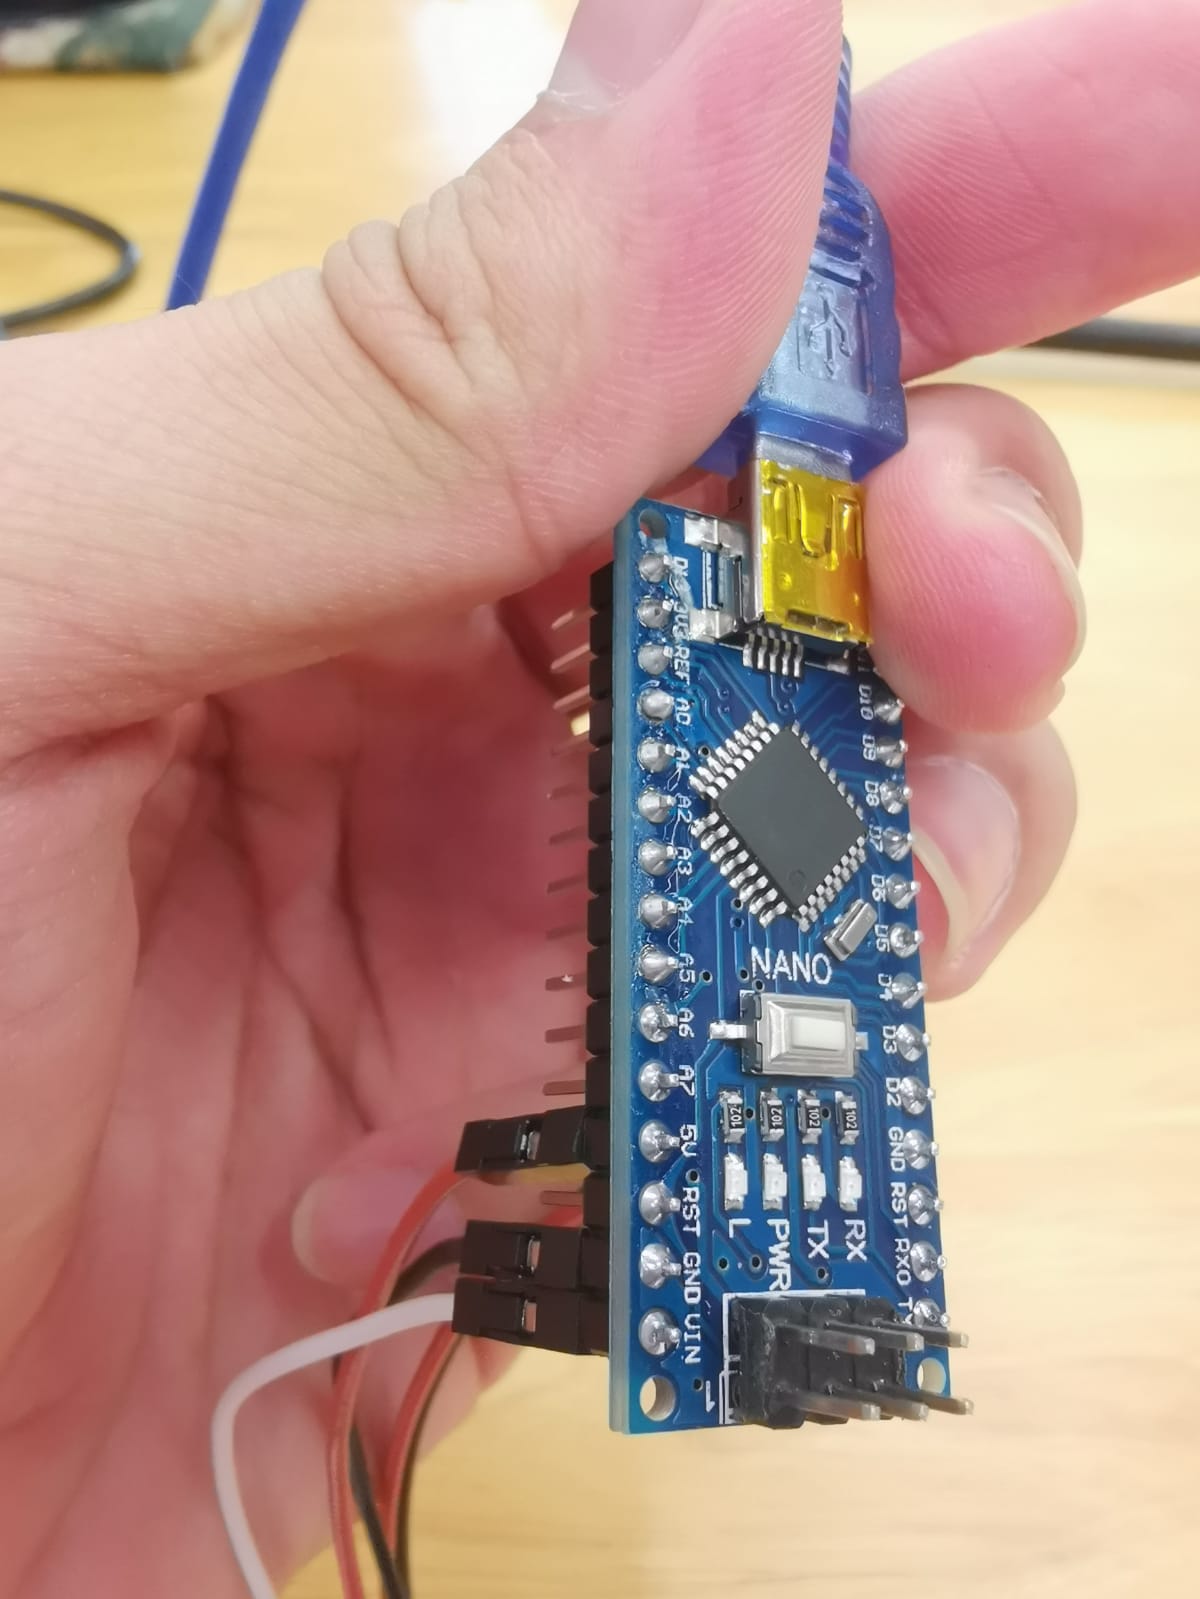
My part is mainly figuring out how to do laser cutting and how the M&E system works
For fatin's part is doing the 3D printing of like small parts, poster, video, laser cutting and assembly of the product
For Jin sheng's part he is mainly doing the 3D printing of base and M&E systems
All in all Fatin, jin sheng and I is involved with all the design stage consideration stage and the fabrication stage of doing 3D printing, laser cutting and M&E and lastly preparing presentation and the board
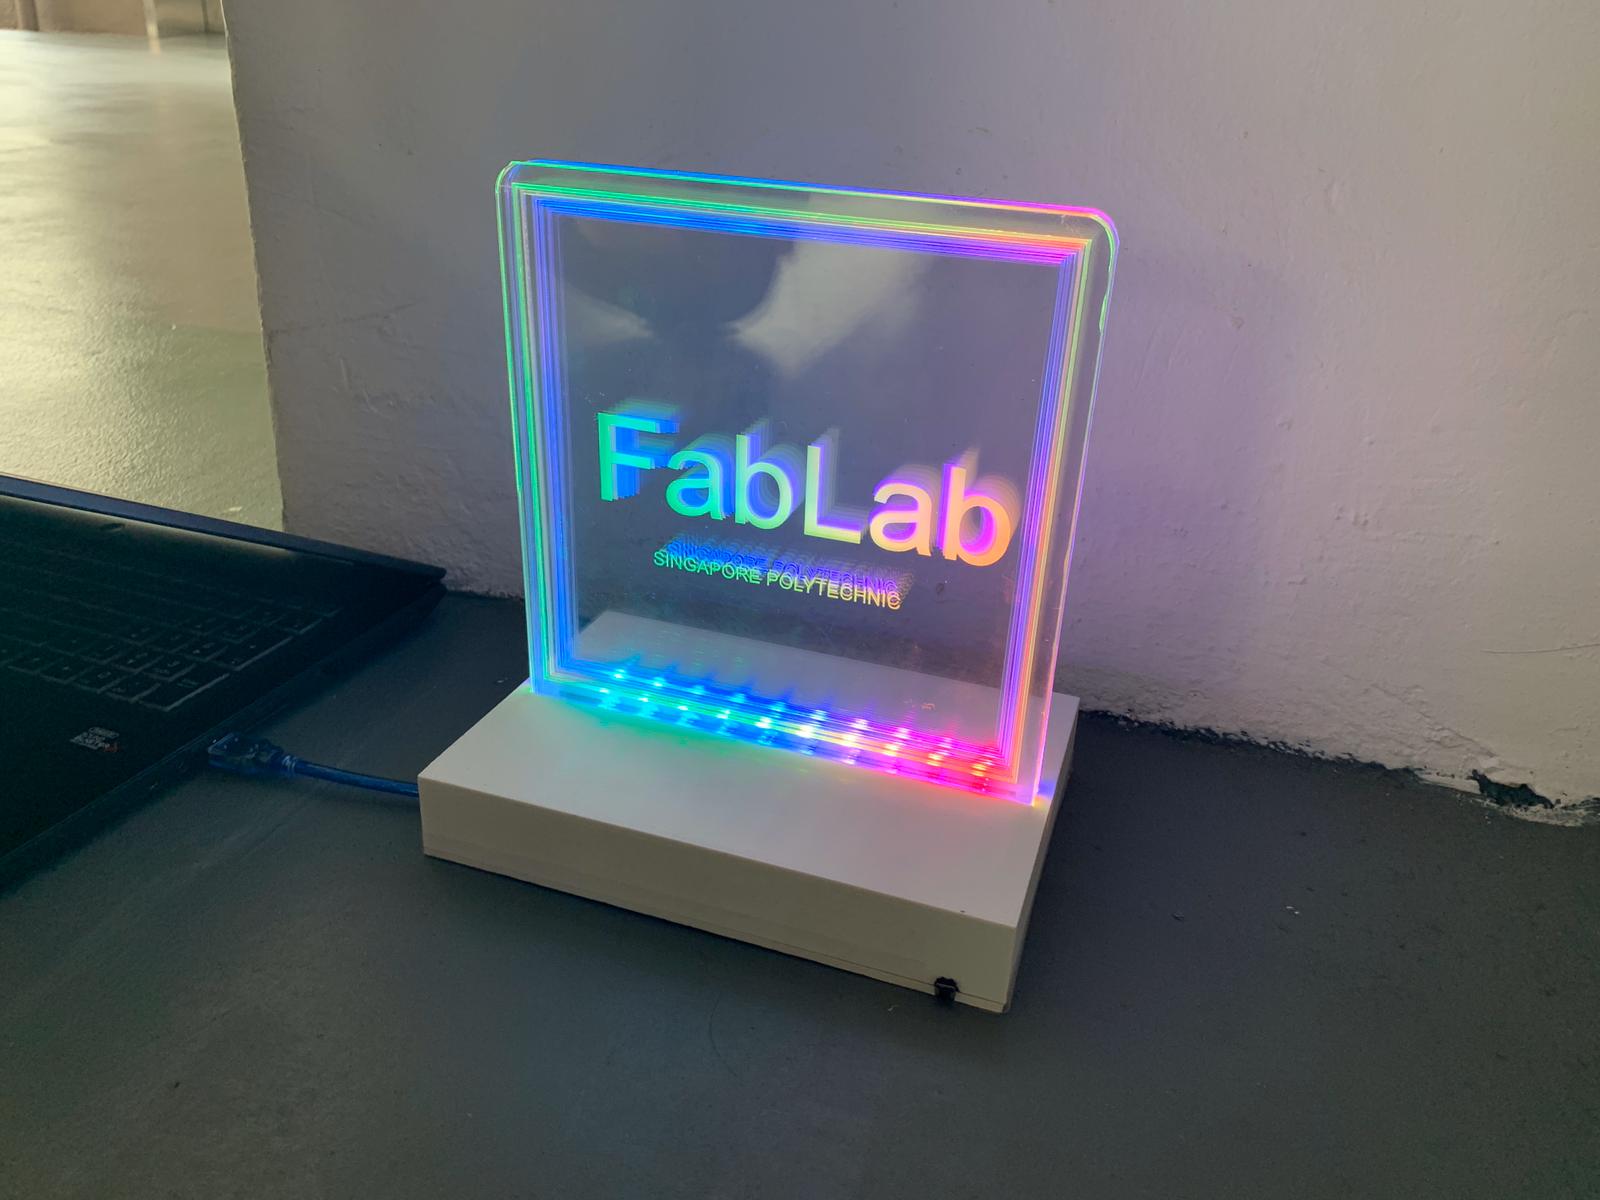
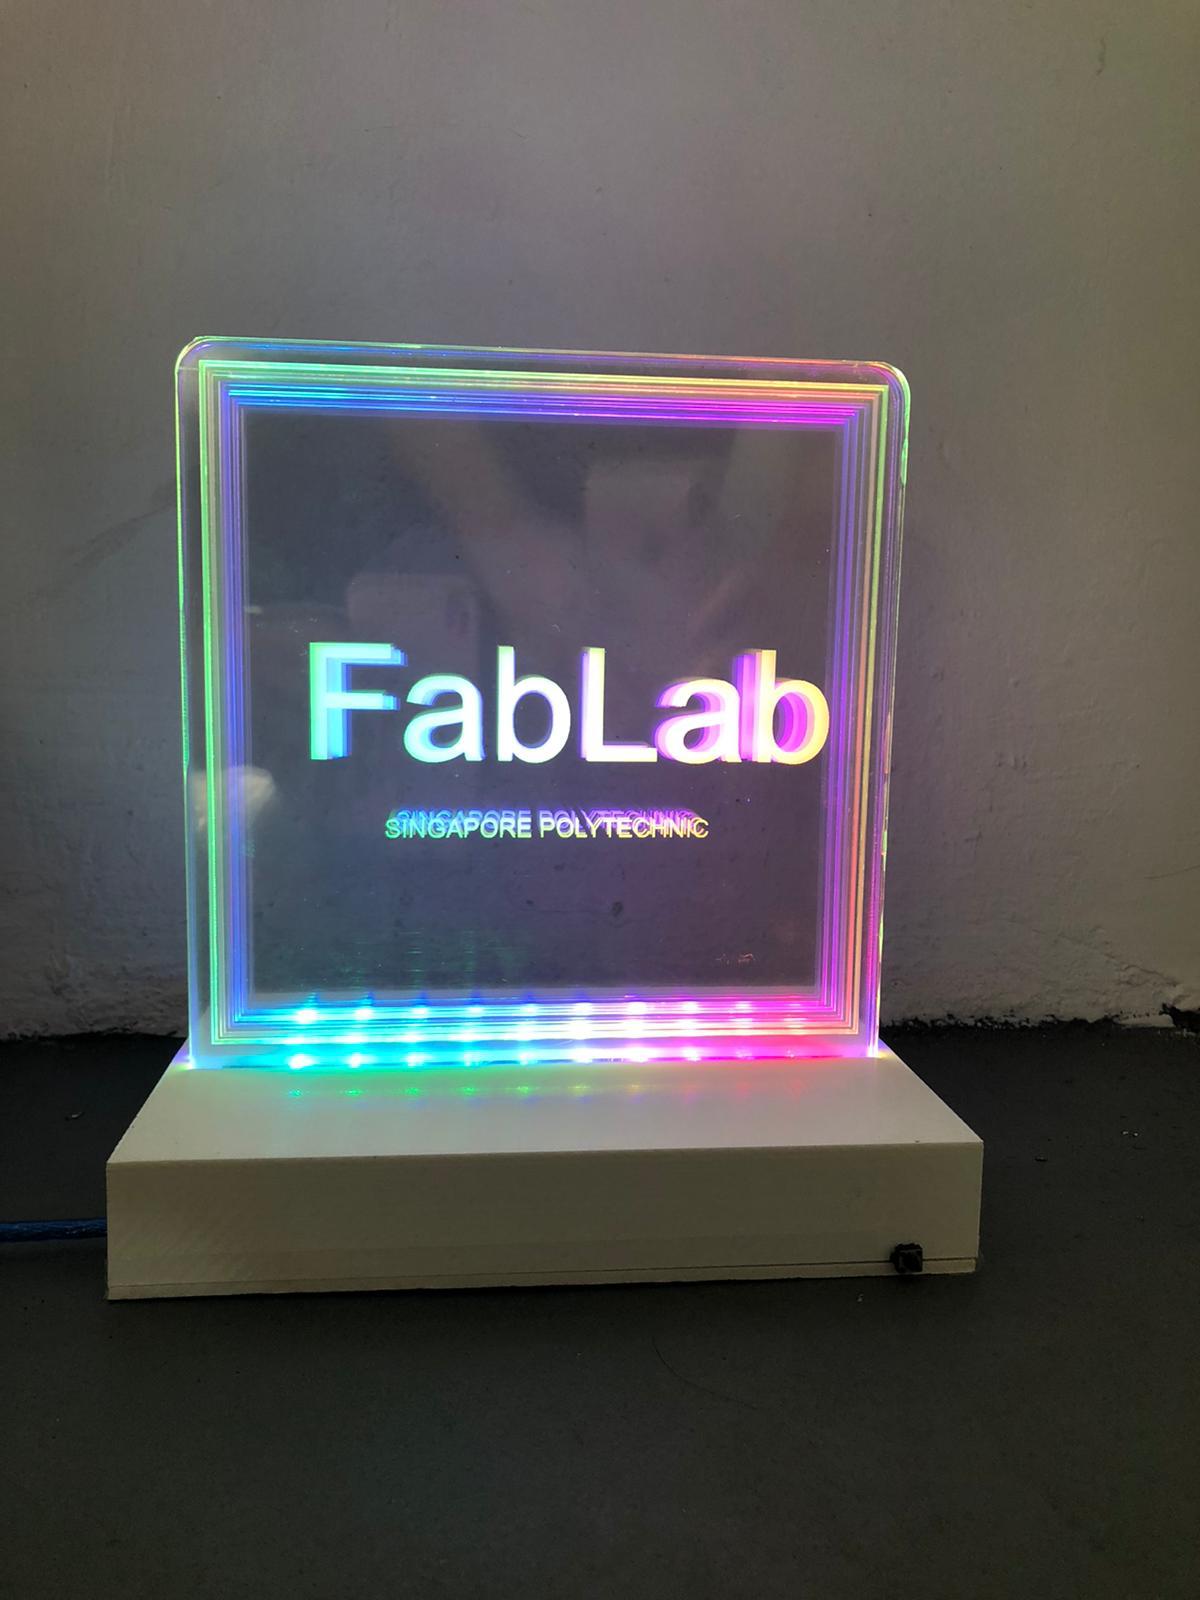
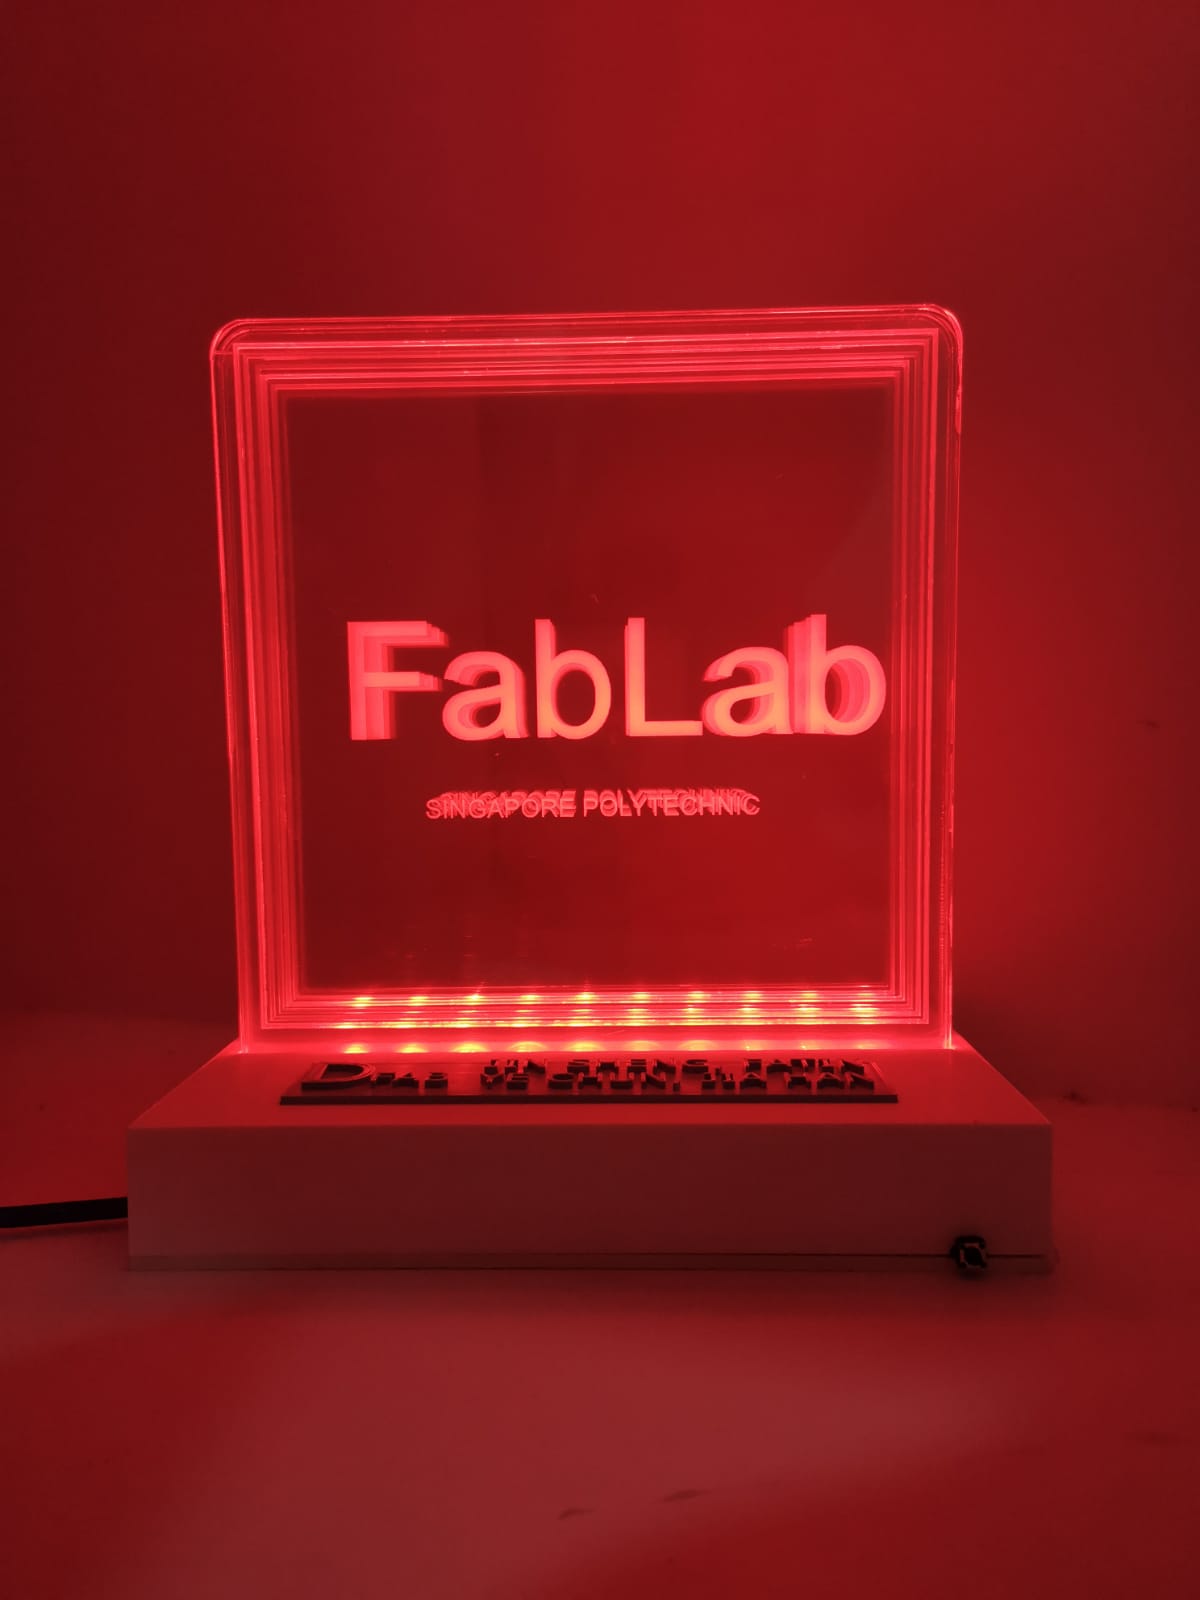
This is the final product for the project
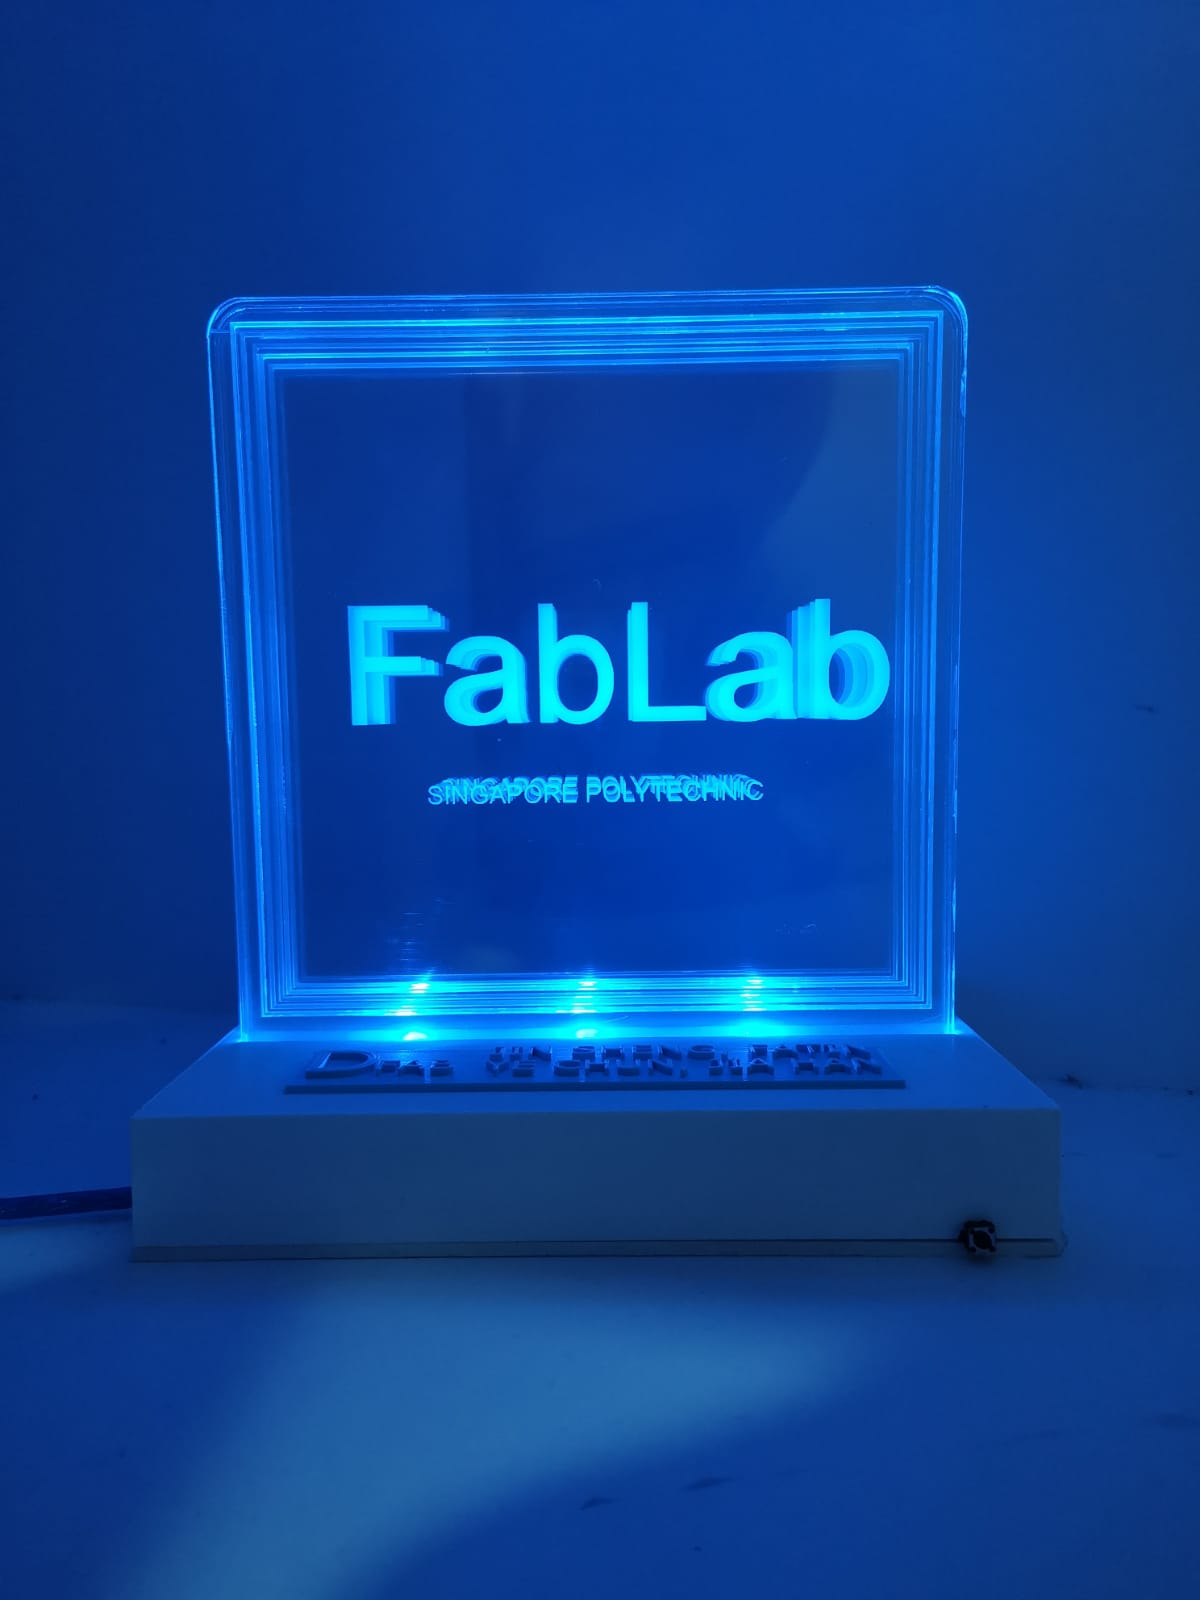
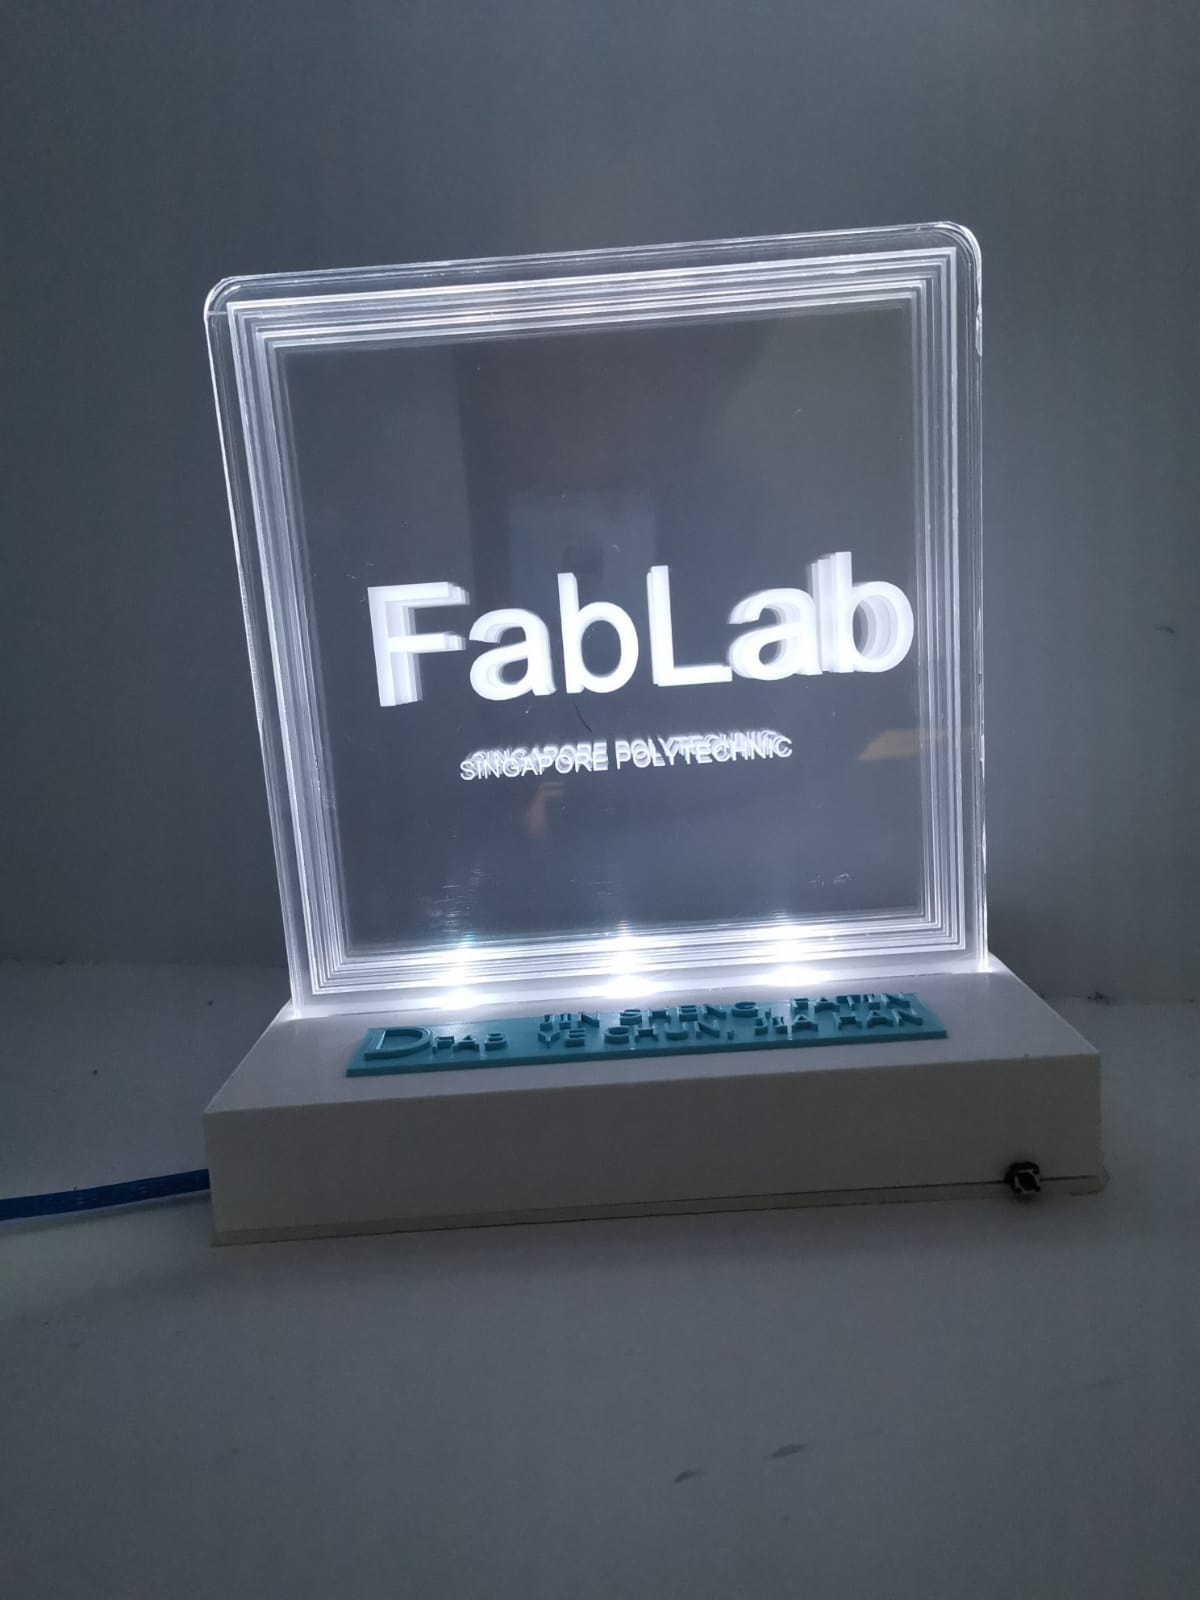
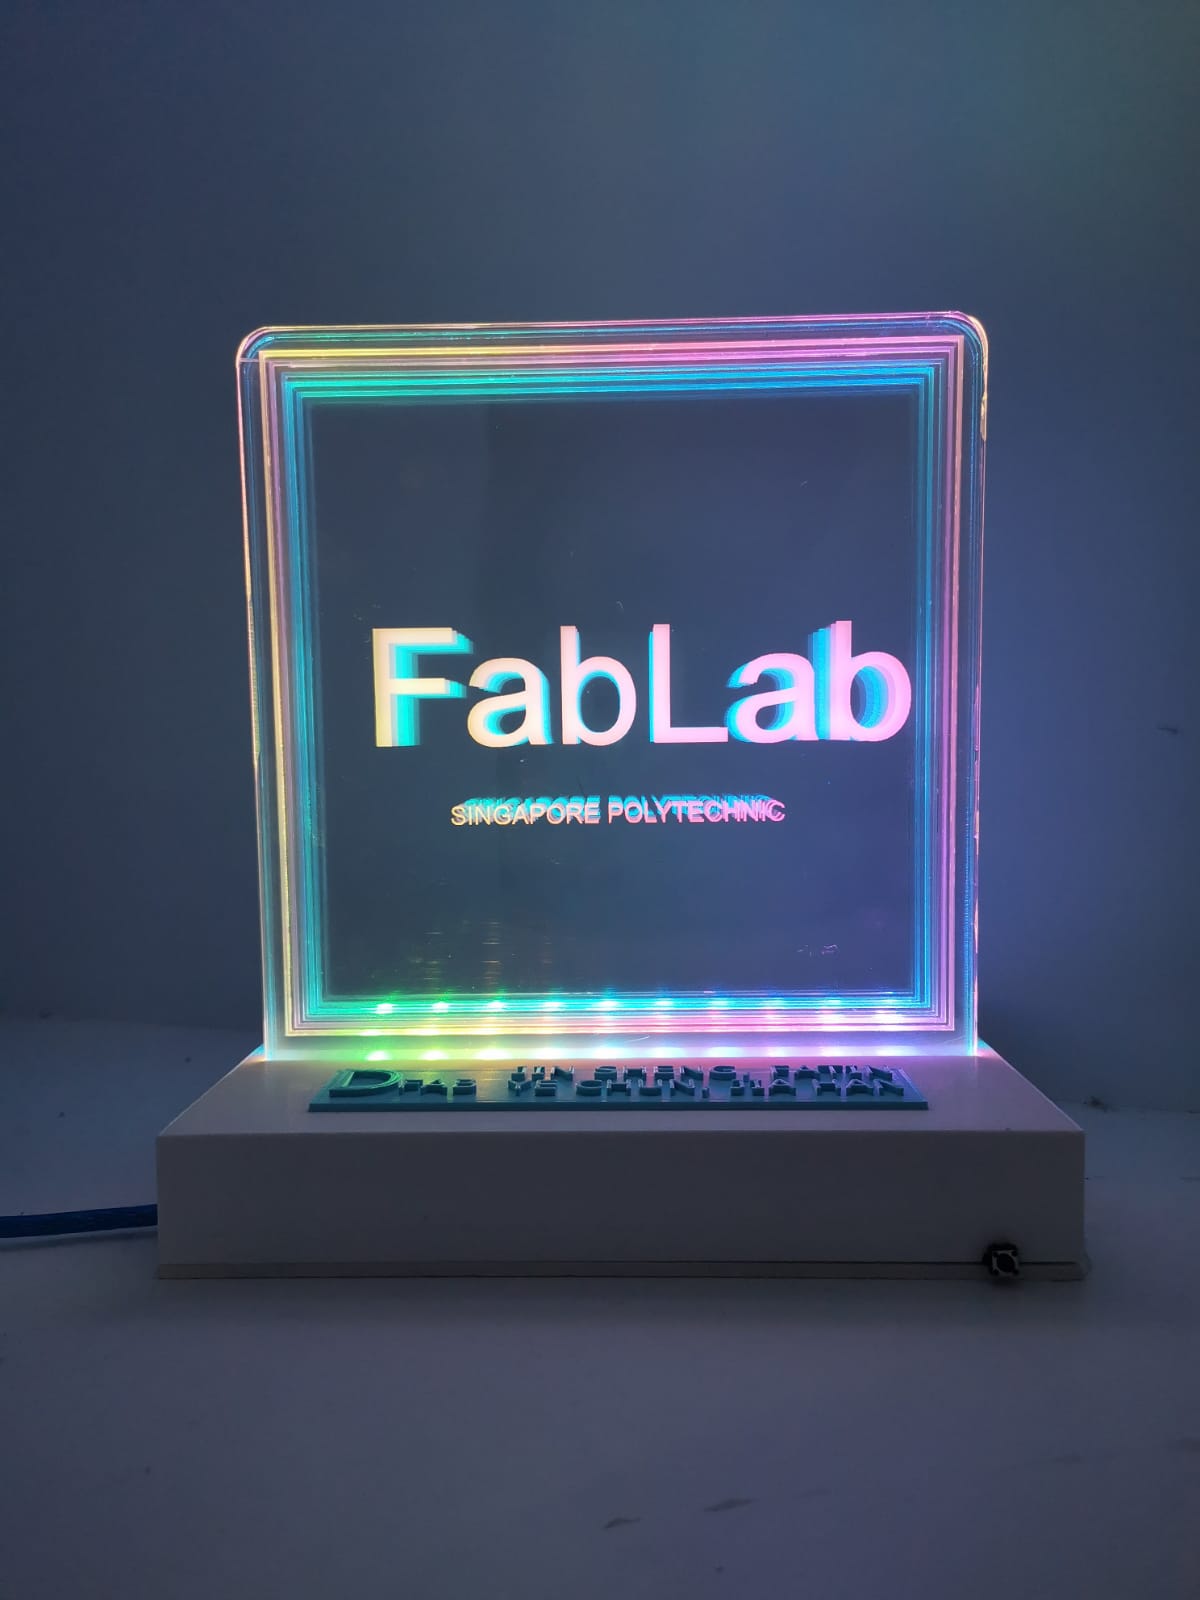
This are some of the videos of the journey and the product
Throughout this module I am able to learn everthing i wanted like 3D print and Laser cut and really had fun in the course and will look forward and keen to join further digital fabrication thank you!