3D Printing
For 3D printing there is many steps and settings to do in order to have it correctly printed
Starting from drawing and designing using computer aided design to start like using of (Fusion 360, Sketchup and AutoCAD). All the drawings to be in 3D in order to be printed
Here showing of the 3D drawings in different software
After drawing the 3D drawing have to been exported into a 3D printing software Ultimaker Cura which is compatible with the 3D printer in order to be able to print, once exported settings have to be made like the size , support, infill, speed, amount of material, material and the time of the artifact to be printed
Here is how the software look like
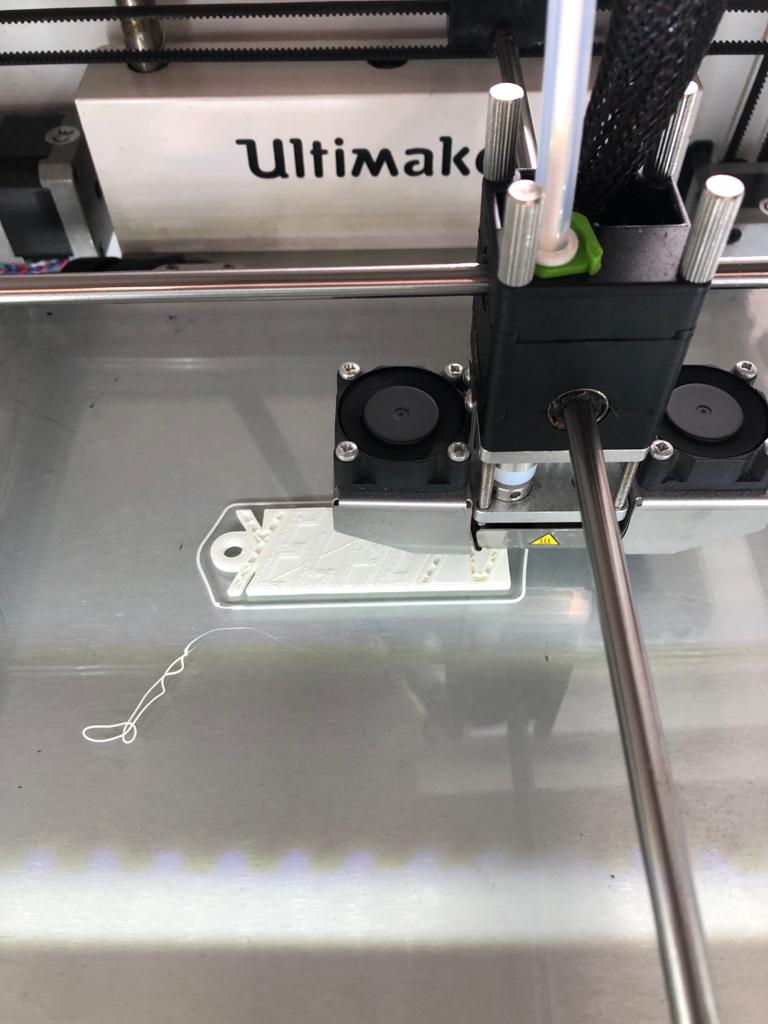
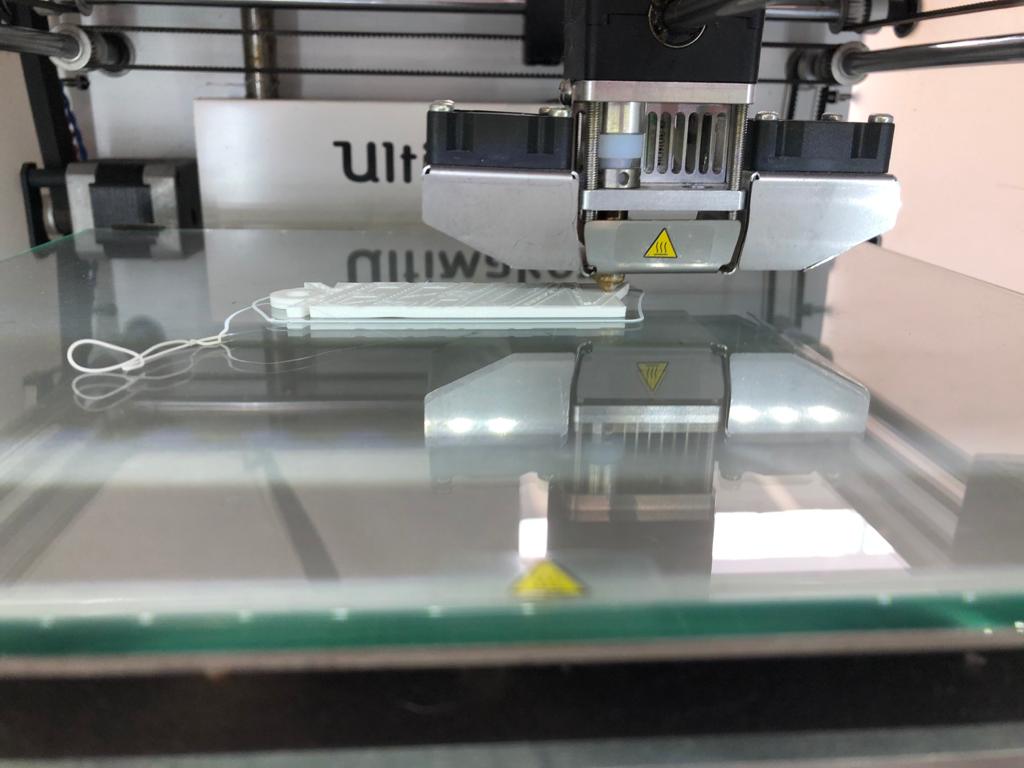
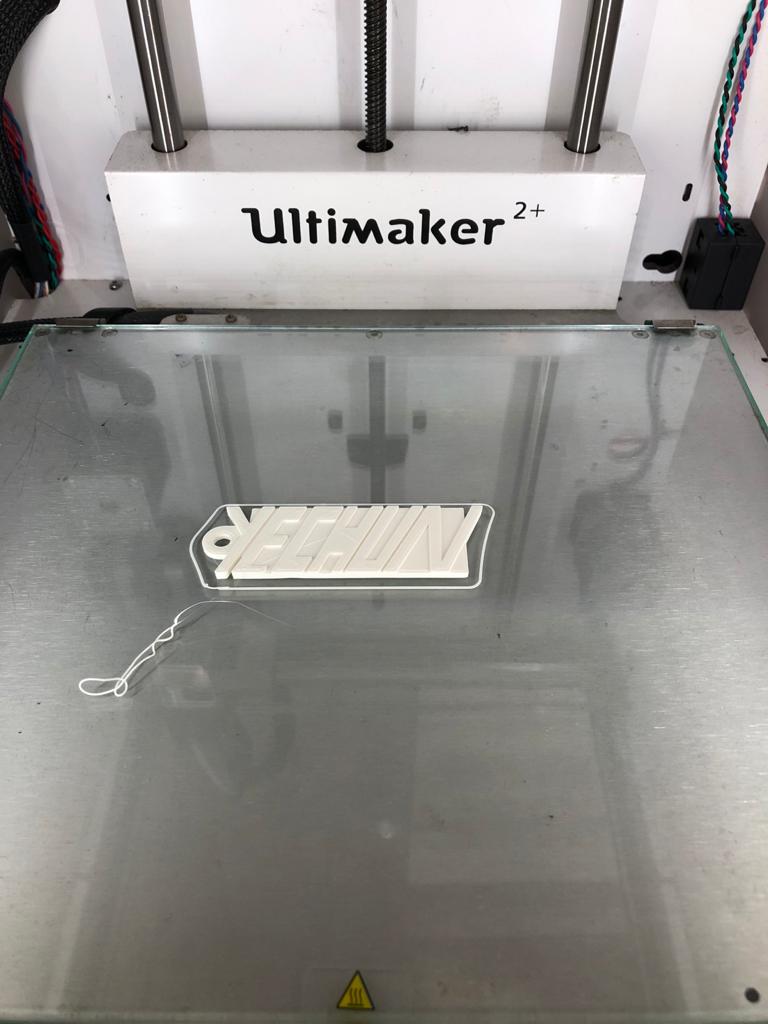
Our First project is printing of a nametag of our own, I have printed something different from what the standard shape should be which is cooler
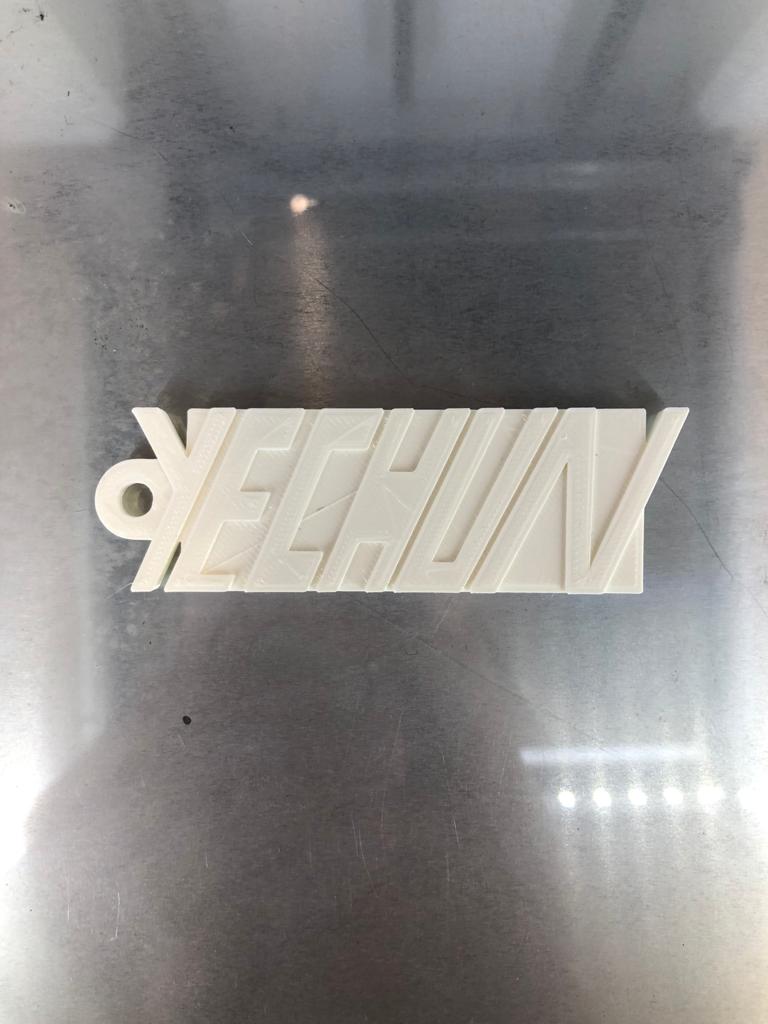
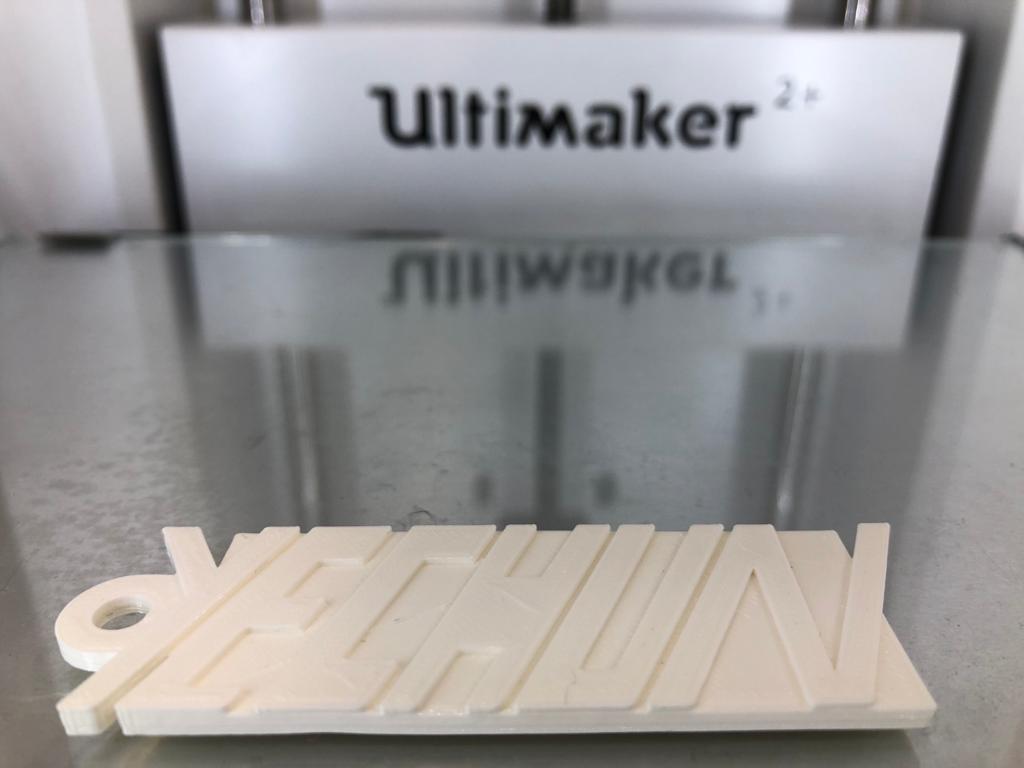
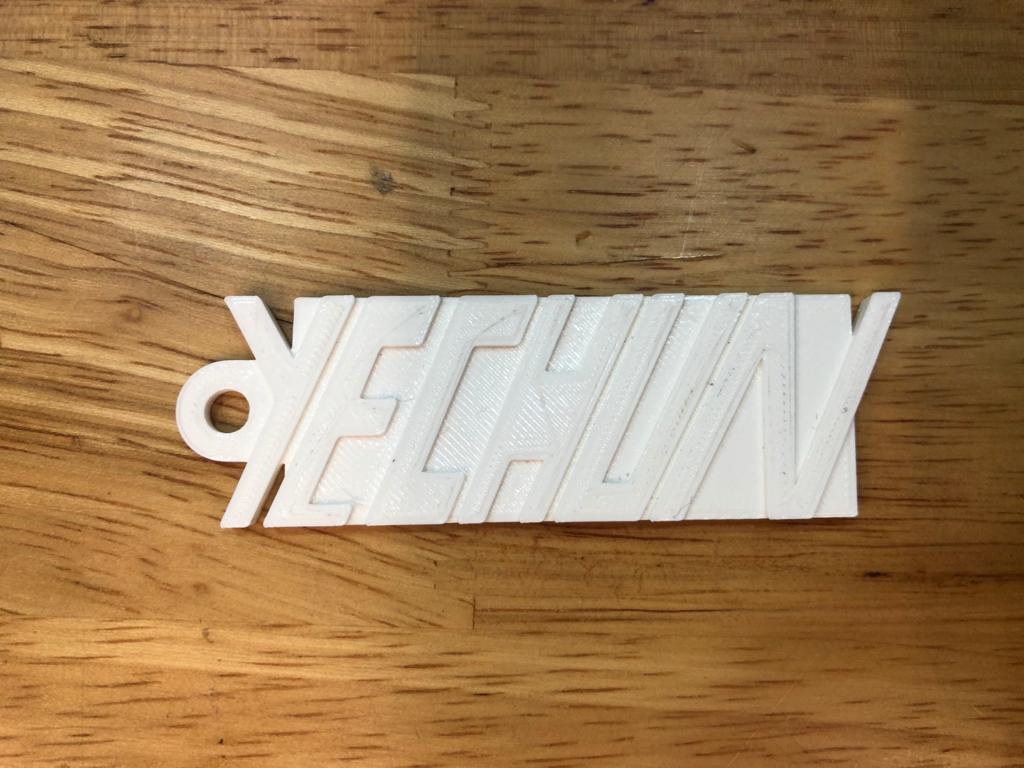
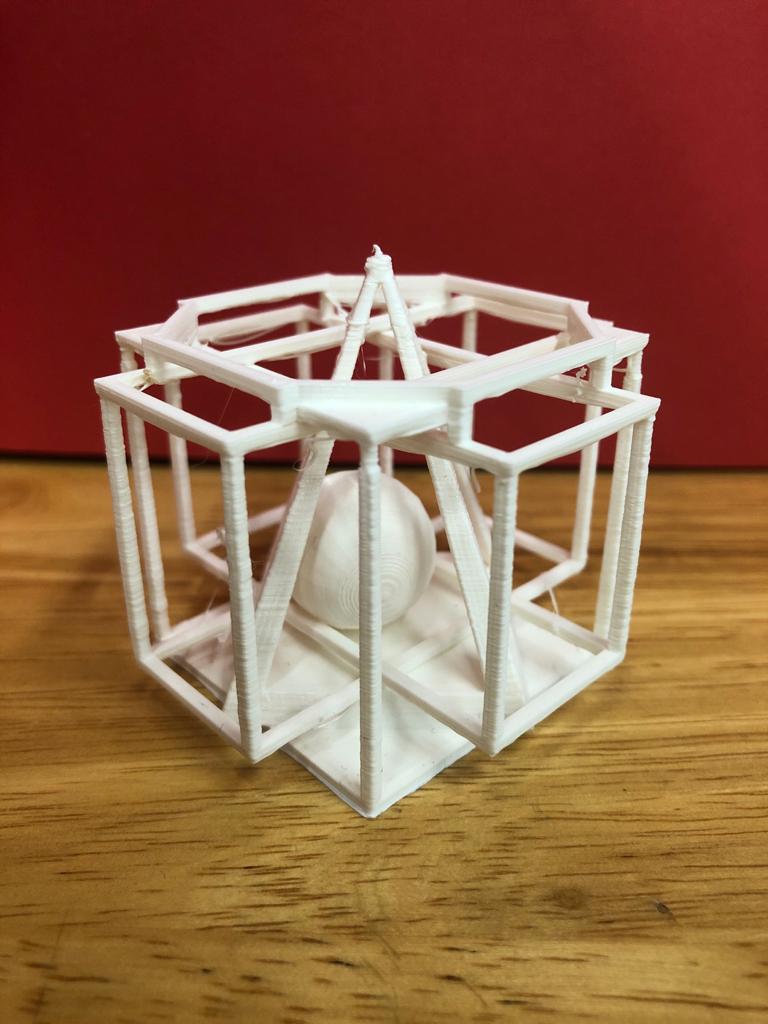
Next my second project is to print something that Interlocking shapes that i have interlock a cube in a cube in a square base pyramid and inside it there is a ball in it.
All the interlocking shapes makes it not able to come out of the other shapes on the outside, for instance the ball is inside the square base pyramid and cannot be taken out.
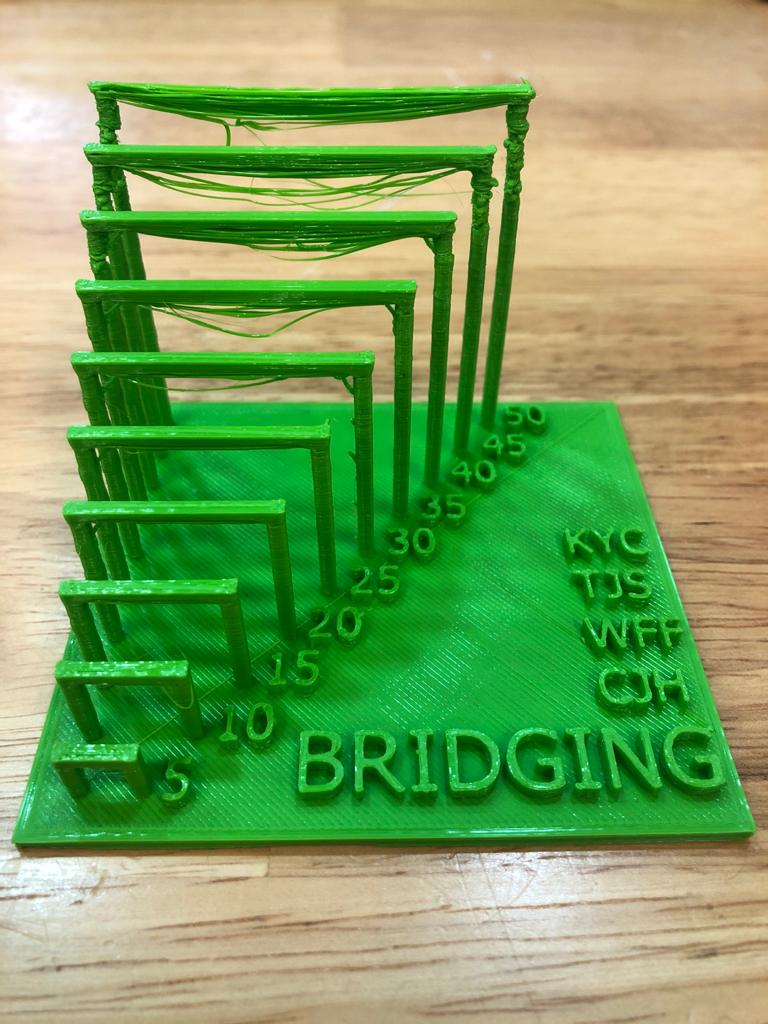
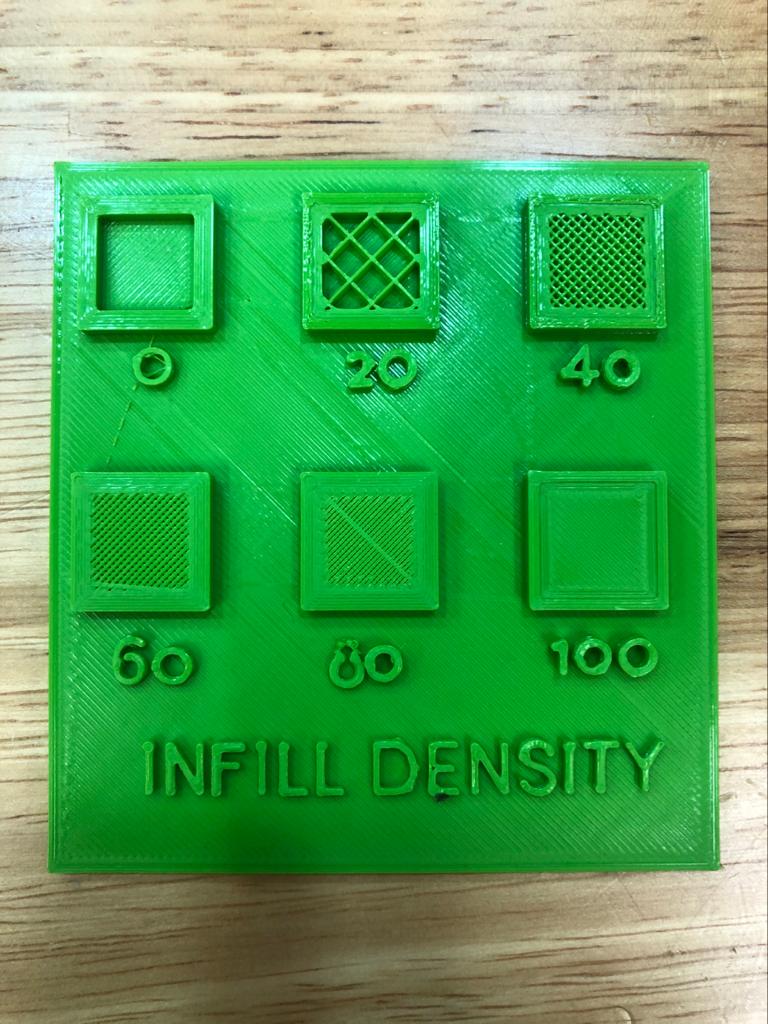
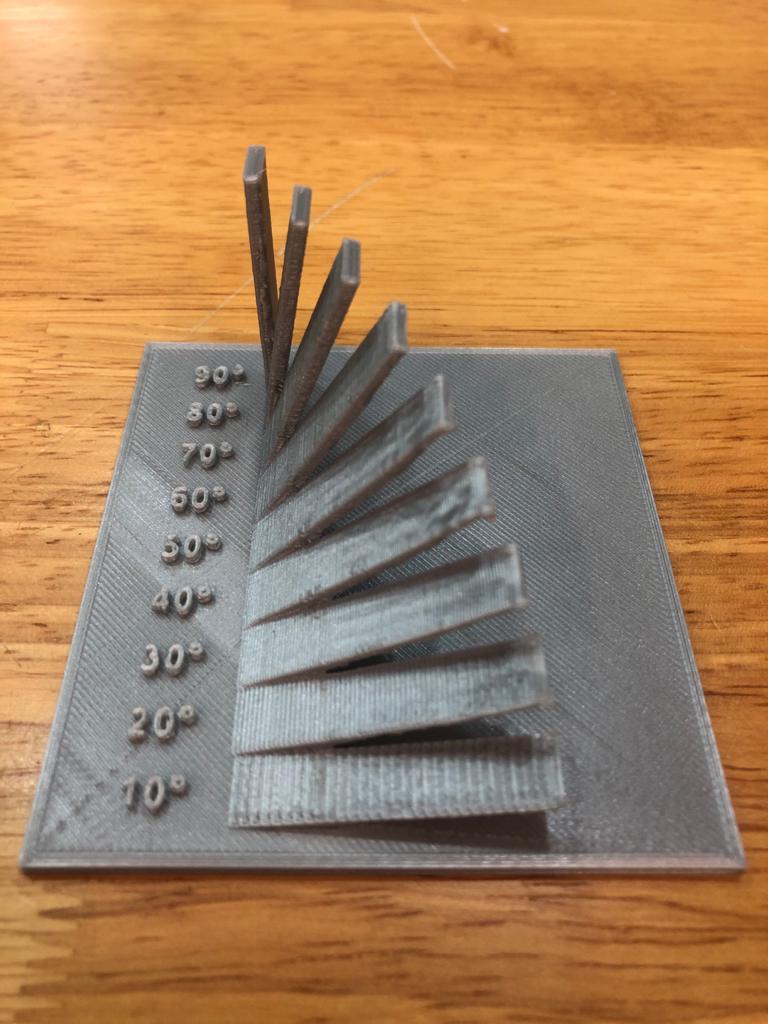
For instance we were told to be in groups of 4 to do 4 different types of 3D printing test (Bridging, Infill Density, Overhang, Tolerance and Clearance)
Bridging (Done by me Koh Ye Chun)
Infill Density (Done by Wan Fatin)
Overhang (Done by Teo Jin Sheng)
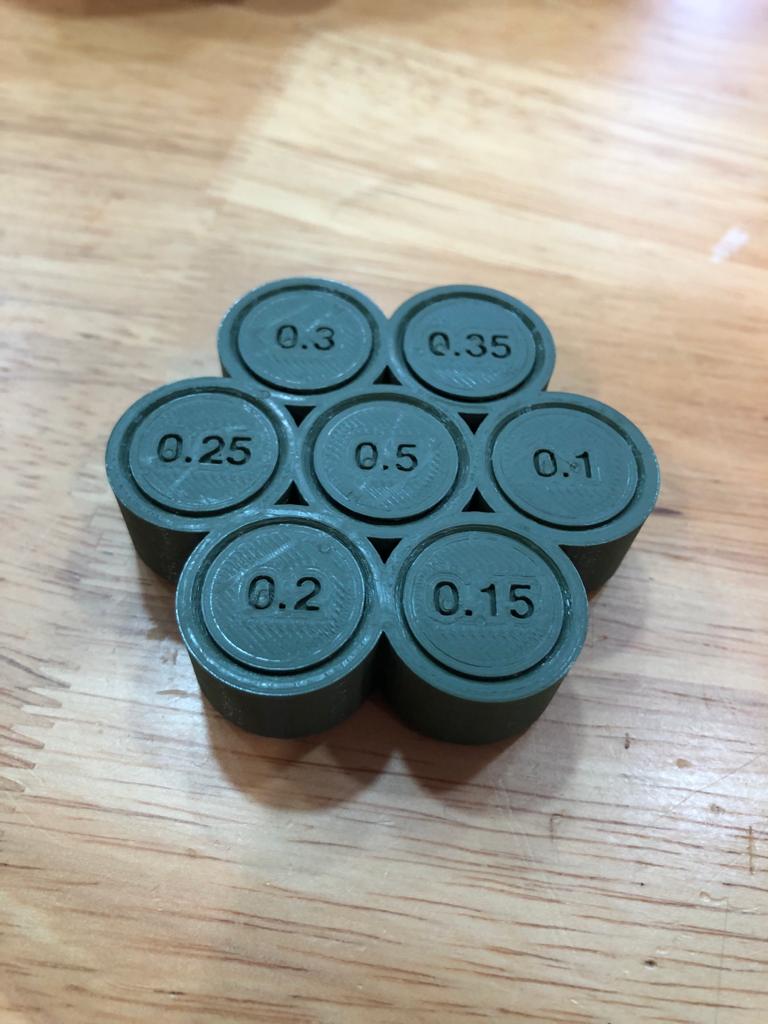
Clearance & Tolerance (Done by Chai Jia Han)
